Tips and Techniques

July I ATE and it was GREAT

Let us take a moment to reflect on all the amazing and delicious meals members prepared with their shares last month!


Asian pork lettuce wraps from Katia


I ATE and it was GREAT - recipe inspiration from the members


Alex cooked up some pulled pork.

Leslie made hamburgers.

Helen was away in England for most of the month and is looking forward to getting back in the kitchen.

Linda said, “I threw together a stir fry with hamburger, tofu, onions and broccoli. Inadvertently used the Worcestershire sauce I was making as a marinade! but it it was great.”

Jaleh made “a simple grilled steak with friends from out of town with big salad from our garden and grilled peaches for dessert. Finally felt like summer!”

Corrie loves steak tacos “So good!”.

Rachel made “Simple grilled lamb chops and steak! Just salt and pepper was all it took...”

Cody made carnitas with a pork shoulder roast.

Amelia threw together “simple steaks on the grill with grilled asparagus and roasted beets. I love getting to use our grill in the summer.”

Taylor savored “pork chops that weren’t dry!”

Kari cooked up some jerk chicken.

Vikki made campfire grilled lamb chops with rosemary garlic butter.

Summer enjoyed some New York steaks with blue Maui salt and crispy potatoes.

Glenn appreciated a quick pasta salad with chicken and garden veggies.

Jerry savored a perfectly grilled chicken.

CJ whipped up a chicken and white bean Mexican soup - “So easy, so good!”

Sara made lamb shanks with mustard and mint.

Jen crafted some Cuban-style mojo pork from a pork shoulder roast.

Kelly served up a carnitas burrito bowl.

Rachel made Chinese BBQ lettuce wraps.

Dzmitry crafted a quick stirfry with shaved frozen steak.

Kyle made marinated chicken tacos.

Molly prepped a beef chuck roast turned carnitas for tacos!

Ashley made a memorable roast chicken.

Katie made pulled pork in the instapot! It was so flavorful and yummy and perfect to pack for a quick easy dinner camping. “I use a dry rub on the roast and then a 1/4 cup apple cider vinegar and 3/4 cup of water in the insta and it is just magical over a large bed of cabbage slaw!”

Jessica served up beef asada strips for tacos, marinated in a spicy orange mix!

David was all about the burgers, burgers, burgers!

Marielle cooked up a whole roast chicken on the grill.

Emily made hot dogs with homemade sourdough buns and homemade date sweetened ketchup.

Jamie savored a Japanese style beef stew with kale, carrots, onions, celery, Japanese sweet potatoes, white wine, and mirin.

Lauren made burgers that hit the spot!

Bronwen served up spaghetti with pork meatballs.

Jerrett made carne asada tacos.

Tyler enjoyed some smoked pulled pork sandwiches w/ Carolina BBQ sauce & cabbage slaw

Elena made a whole slow cooker chicken.

Liz served up some nachos with pulled pork - “a staple around here!”

Toni prepared salted New York steak with sugared strawberries. Also, egg cups with country sausage & cheese :)

And Kate made the all-time summer favorite - burgers!


How this slam-dunk recipe taught me willpower, patience and trust

I was reflecting the other day on how growing in skill and confidence in the kitchen is a bit like bungee jumping.

If you are going to have a new experience, you have to actually jump to see if it will turn out how you expected.

But all to often I find myself giving certain recipes a pass by telling myself, “what if it doesn’t work out?”

Taking the plunge

So I’d heard of this particular recipe for a few years now but was hesitant to give it a try for a variety of reasons:

  • This recipe seemed TOO deceptively simple.

  • I was skeptical that it would ever turn out.

  • It had this "too good to be true" vibe to it.

In fact, I was so unsure of myself I actually made a back up dinner (enchiladas) just in case it was a total flop.

So, the timer went off and I pulled it out of the oven. It didn't look like much honestly. I tented it with foil, let it rest and went about making my side dishes.

After a rest, I set it on the cutting board and as I started to slice I literally said under my breath, "please be good, please be good".

And I carved off beautiful slice after beautiful slice of perfectly rosy, juicy roast beef. The meat was melt-in-your-mouth tender.

Now I've made loads of pot roasts in my life where the meat slow-braises in liquid until shreddy and fork-tender. But there's no way in heck to slice something like that. It just makes a mess of all these tiny muscle fibers.

I wanted to make roast beef. The kind that makes all these pretty, even slices like on fancy food blogs. The kind I could thin slice to make roast beef for lunch meat or french dip sandwiches.

So how did I do it?

I started with a Beef Eye of Round roast - a cut that is very lean and flavorful but is not known for being tender (this muscle on the hip sees a ton of work). I let the roast sit out for an hour to come to room temperature.

I did a little trimming to take off some extra fat then placed the roast on a foil-lined, metal roasting pan and liberally seasoned it with salt and pepper. Then put the roast straight into a preheated (and screaming hot) 500-degree oven.

Yep, 500 degrees.

Just thinking about a temperature that high for grass-finished beef where the dogma is "low and slow" made me cringe!

Once the roast was in the oven, I reduced the temperature to 475 degrees and cooked for 7 minutes per pound. My roast was 5.85# so I set my timer for 41 minutes.

(Oh I turned on my oven fan to vent too!)

After 41 minutes, I turned the oven off but did not open the oven door. Then I reset the timer for 2.5 hours.

Talk about willpower - absolutely no peeking is allowed with this recipe!

I even put a post-it note on the door saying not to open before 5 pm to keep nosy Nathan from poking around.

After a 20 minute rest covered with foil, when I started carving, the slices were perfect. Rosy pink in the center but not slimy and raw and unlike prime rib, no weird fat globs.

I'm so excited about this recipe and I've added it to my ever-expanding list of "things I want to cook for a dinner party, you know, whenever that happens again..."

However, there is one HUGE caveat. This recipe does not work reliably in gas ovens - they cool off and vent the heat away too fast. If you want to try this recipe with a gas oven, instead of turning the oven off, set the temp to 150-170 degrees. Trust me. There's thousands of reviews for this simple recipe across the internet and all the 1-star reviews are from people with gas ovens.

If you’d like to give this rule-breaker roast beef a try, you can download the printable recipe by clicking HERE. It really is that easy :)

Dry, dense whole wheat loaves? CSA member David shares his superpower bread baking tips

Ahh! Homemade bread. That first bite of a warm crusty loaf on a blustery day… And that subtle sweetness and nuttiness that whole wheat flour adds to the loaf… Mmm my mouth is watering just thinking about it.

Yet all too often the home bread maker eagerly slices into a whole wheat loaf only to find it overly dense and dry. Crumbly sawdust is not exactly the texture we were looking for here.

“I like a good hearty loaf of bread or a good hearty baked good, but I don’t want it to be a brick.”
— David

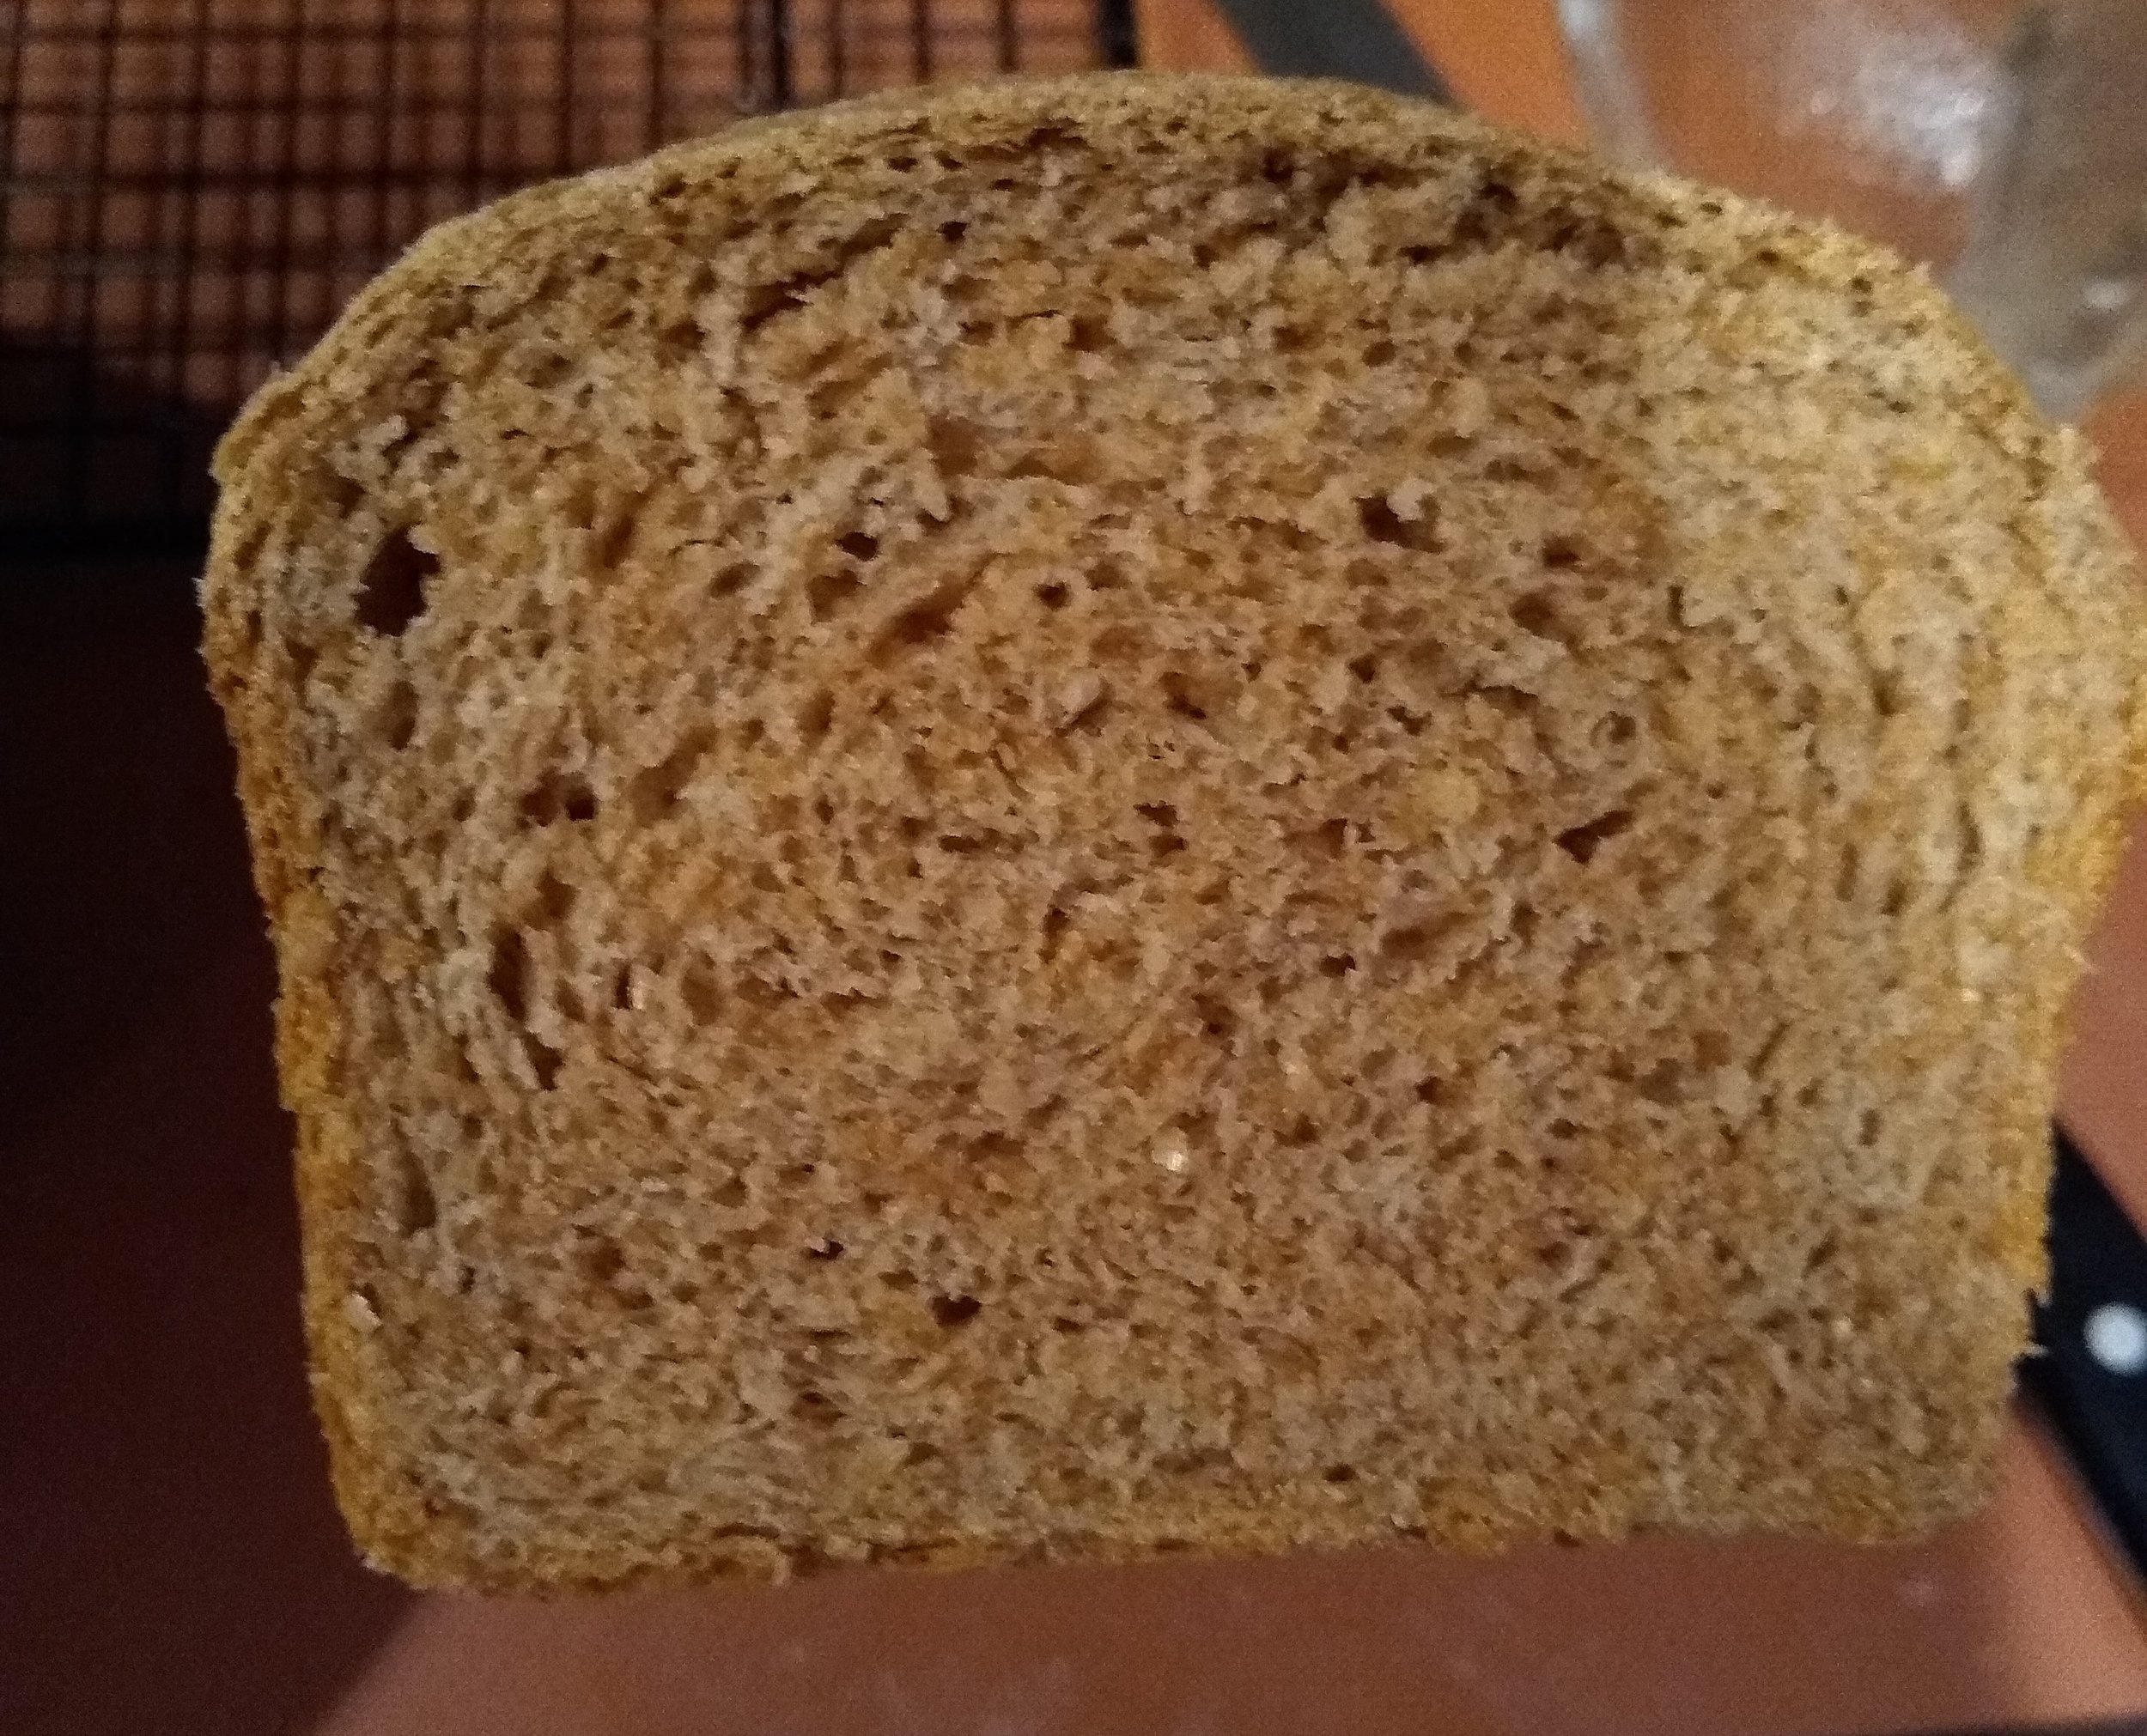
Luckily, CSA member David cracked the code for how to bake bread using only 100% whole wheat flour from Double F Ranch (a fresh-milled, unsifted, hard red spring flour) that yields a delicious, chewy loaf.

And he was kind enough to share his secrets to success!

Even after baking bread for many years, David found reliably producing a quality whole wheat loaf an engaging challenge. With a son who went to culinary baking school there was also a family interest in cracking the code.

But that all changed during pandemic lock down when he came across a “stretch and fold” technique while watching a video in the King Arthur Flour Isolation Baking Series. This technique, combined with a wet dough and a long rest helps to build the gluten network within the bread to provide chewiness and structure.

Curious how this technique would hold up to whole wheat baking, David did some extra research, made careful observations and applied his years of bread-baking knowledge to crafting a whole wheat sandwich bread.

And the resulting loaves he turned out of the pan were fantastic.

“There is really something quite remarkable about the wheat. Either how it is milled or grown. That first loaf David made was quite possibly the best whole wheat bread I have ever had.”
— CSA member Linda


100% Whole Wheat Bread - David’s CSA Superpower

Adapted from Tassajara Bread Book and King Arthur Flour - Isolation Baking Show

Makes 3 loaves.

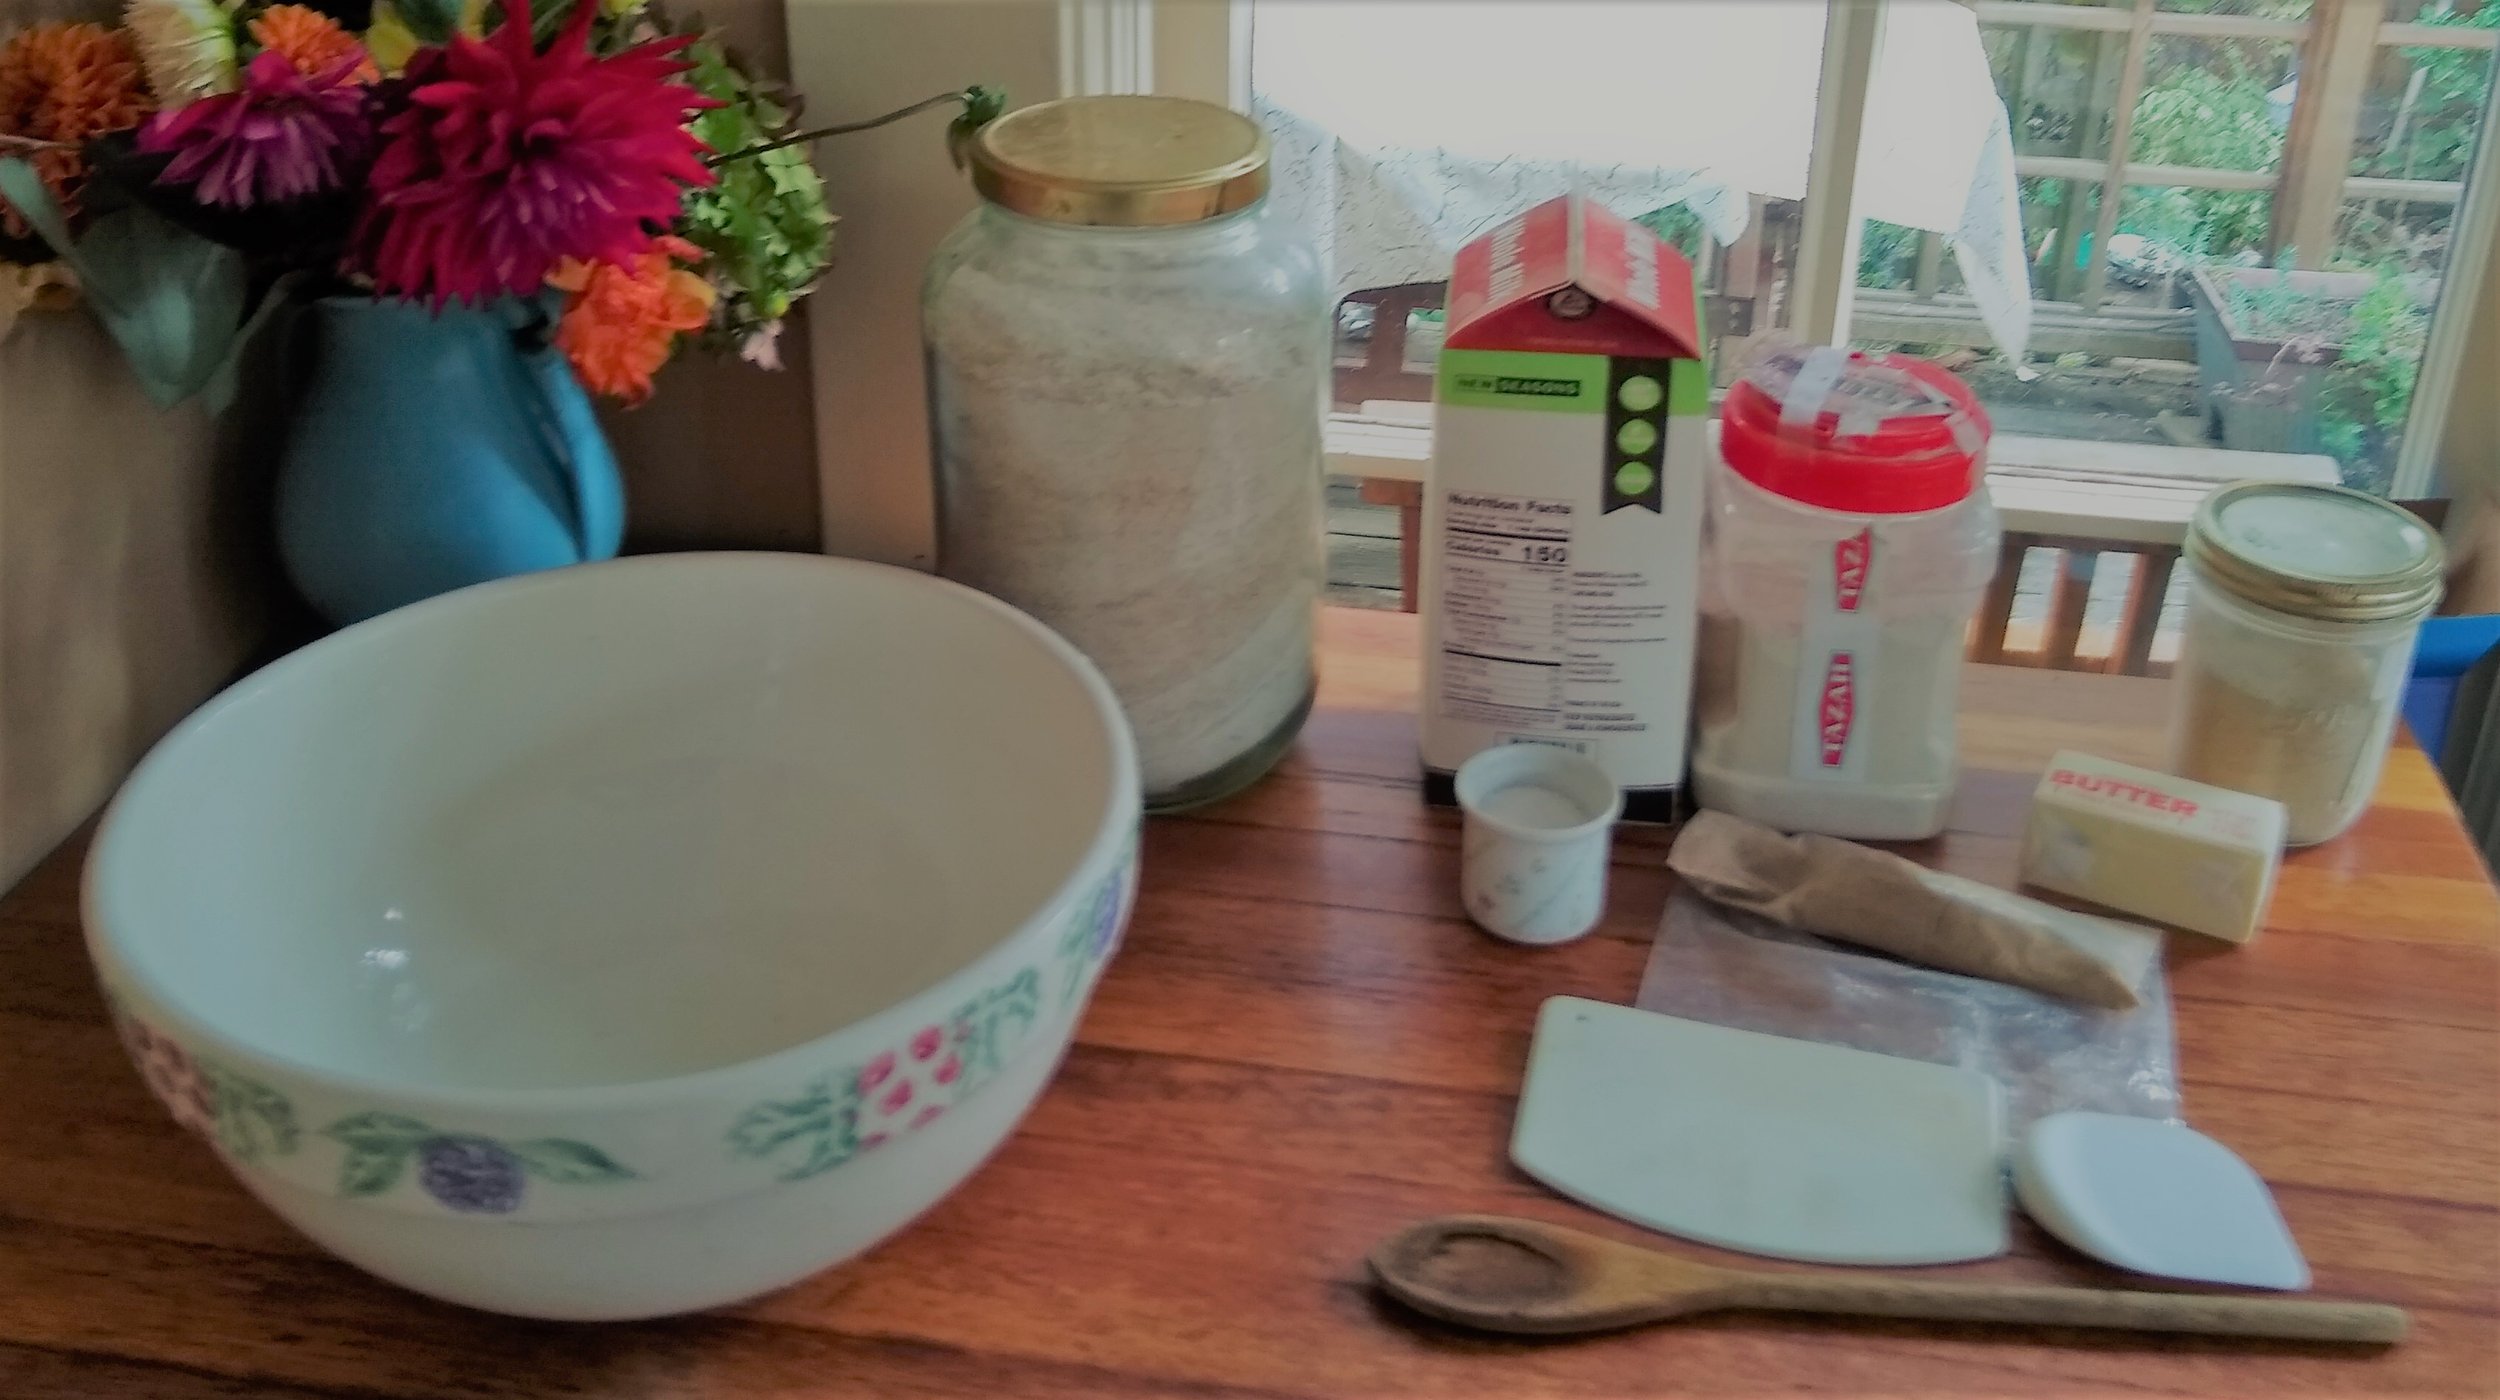
Ingredients

  • 3 ¼+ cups whole milk

  • 2 tablespoons yeast (active dry)

  • ¼ cup brown bugar

  • 1 cup +/- lukewarm water

  • ½ cup gluten (optional, could use AP flour)

  • 5 teaspoons salt

  • 4 oz unsalted butter (1 stick)

  • 9 ¼ cup+/- Double F Whole Wheat Flour

Instructions

  1. Scald 3 ¼ cups milk and let cool.

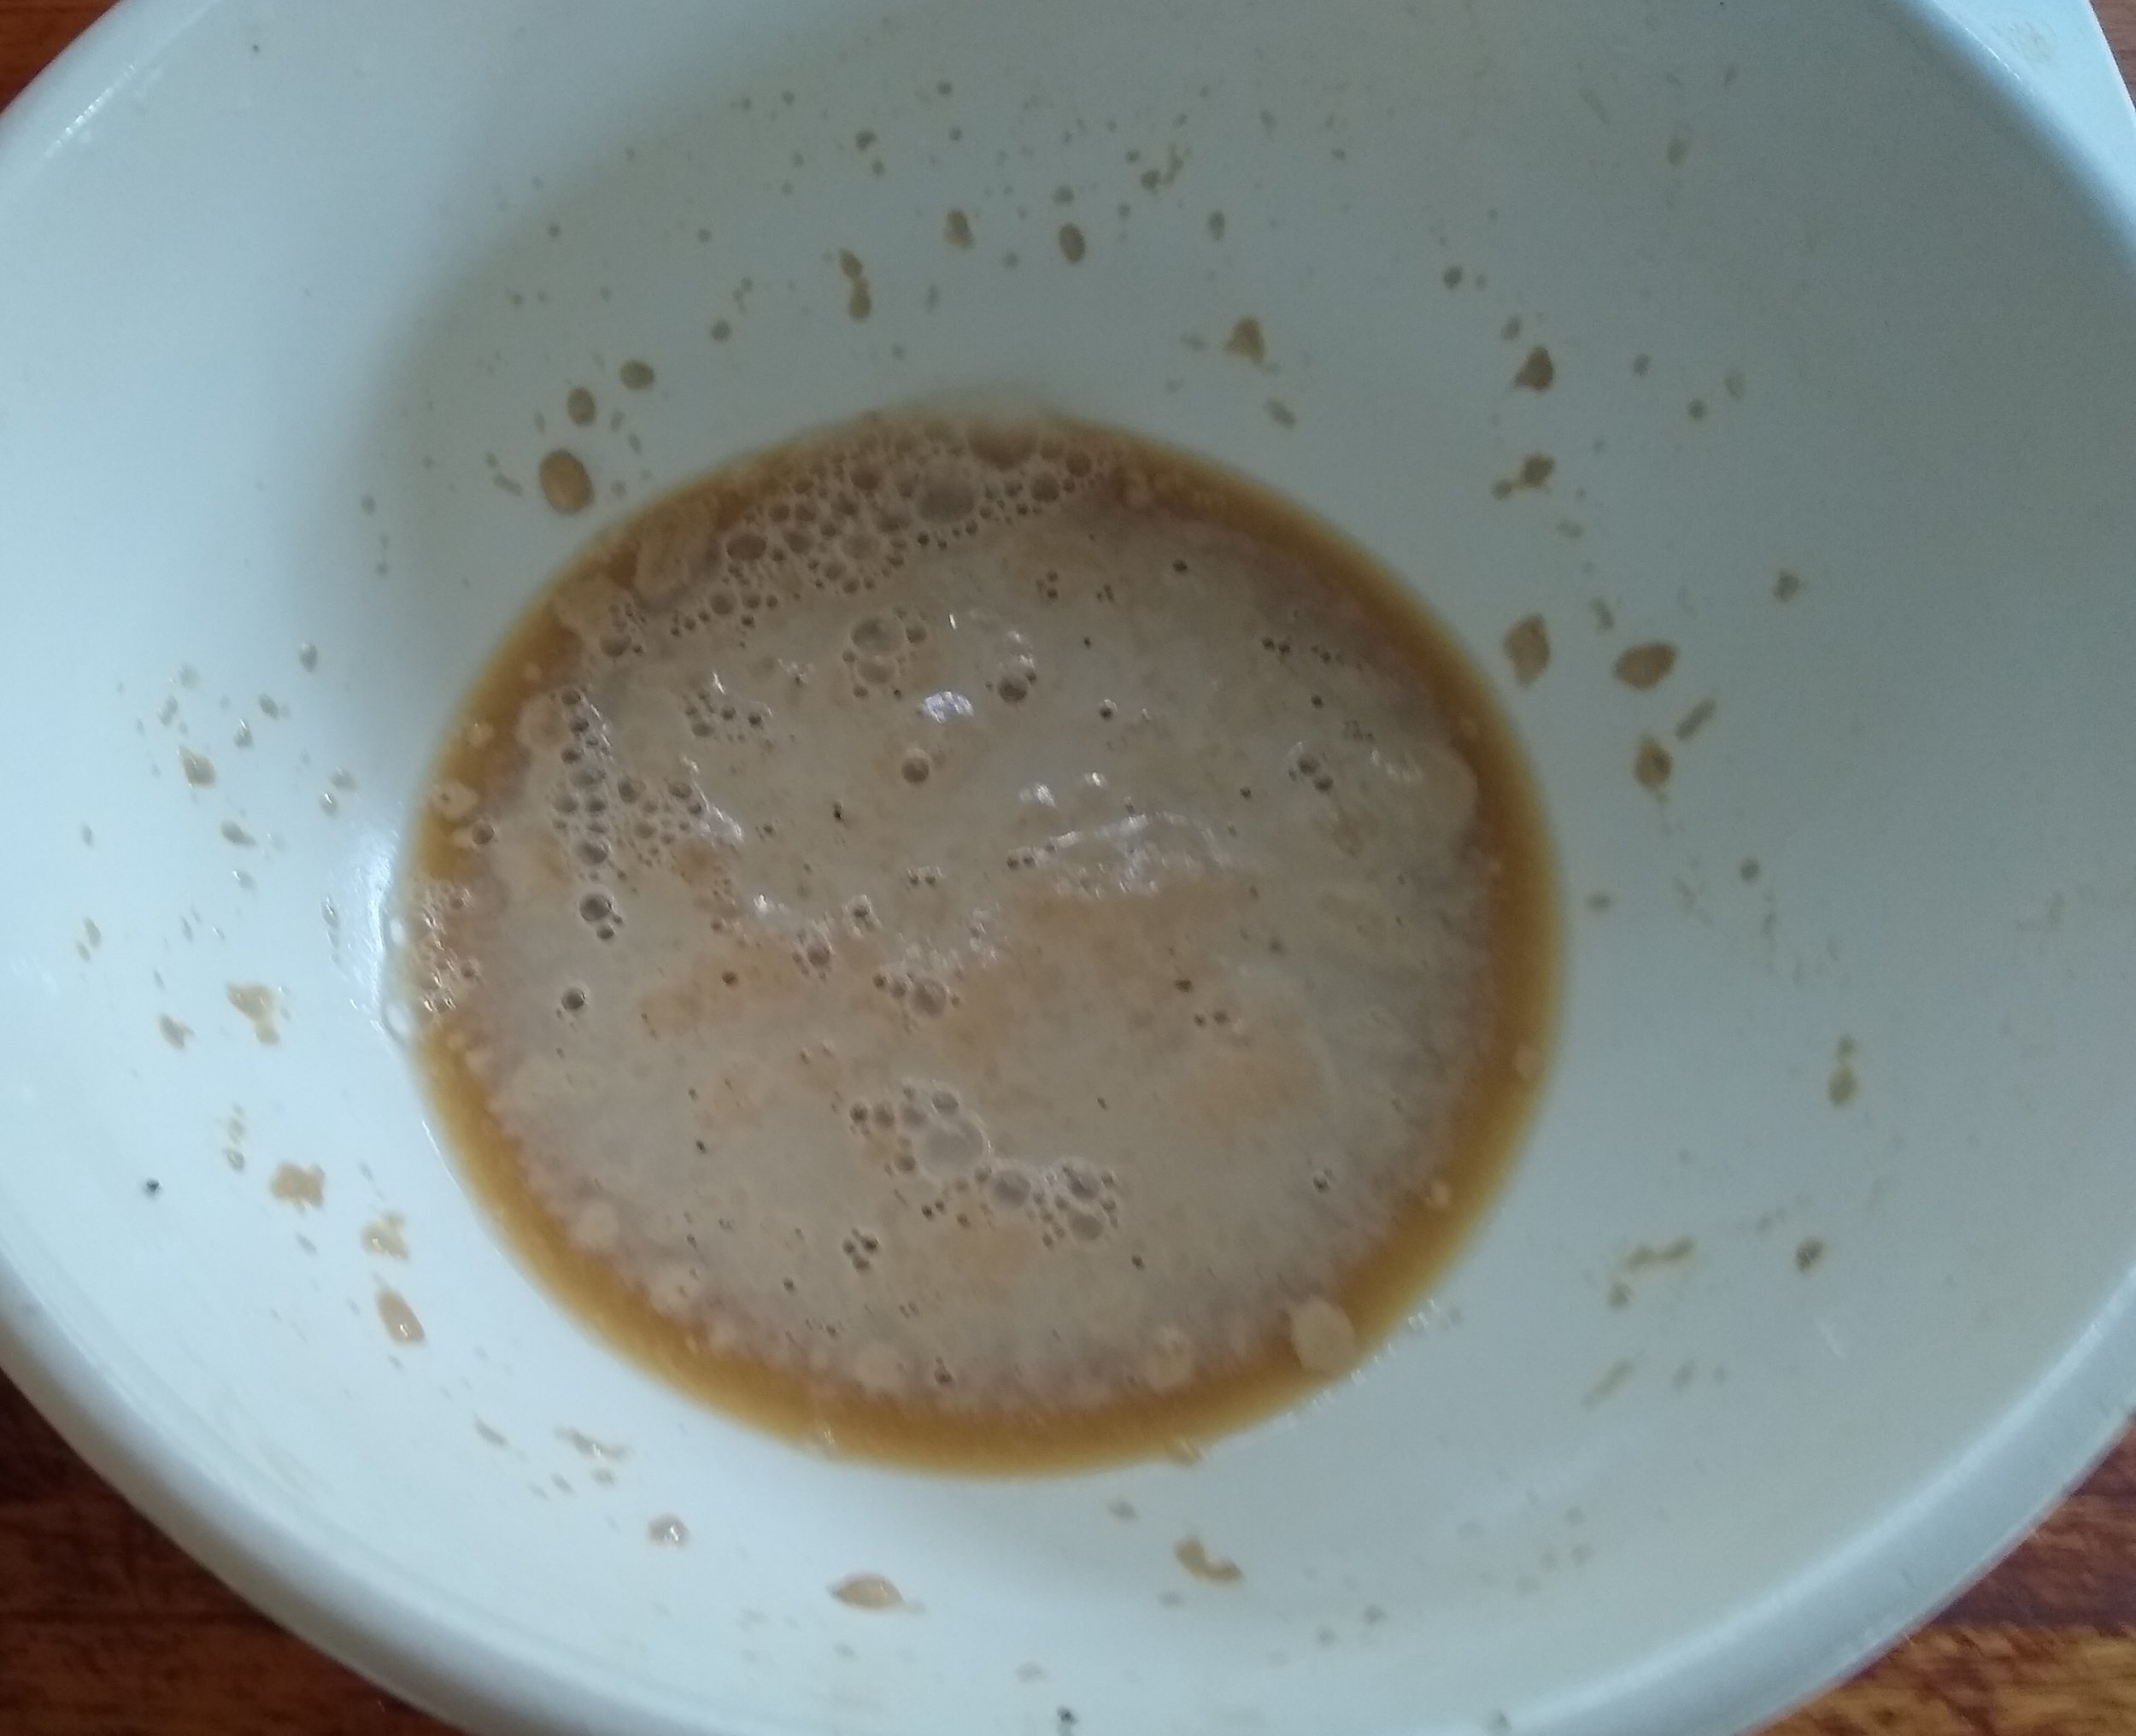
  2. Proof yeast 5 - 15 minutes with 1 cup water, ¼ cup brown sugar and 2 tablespoons yeast.

  3. Create sponge:

    • In a large bowl, add  3 ¼ cups cooled milk.

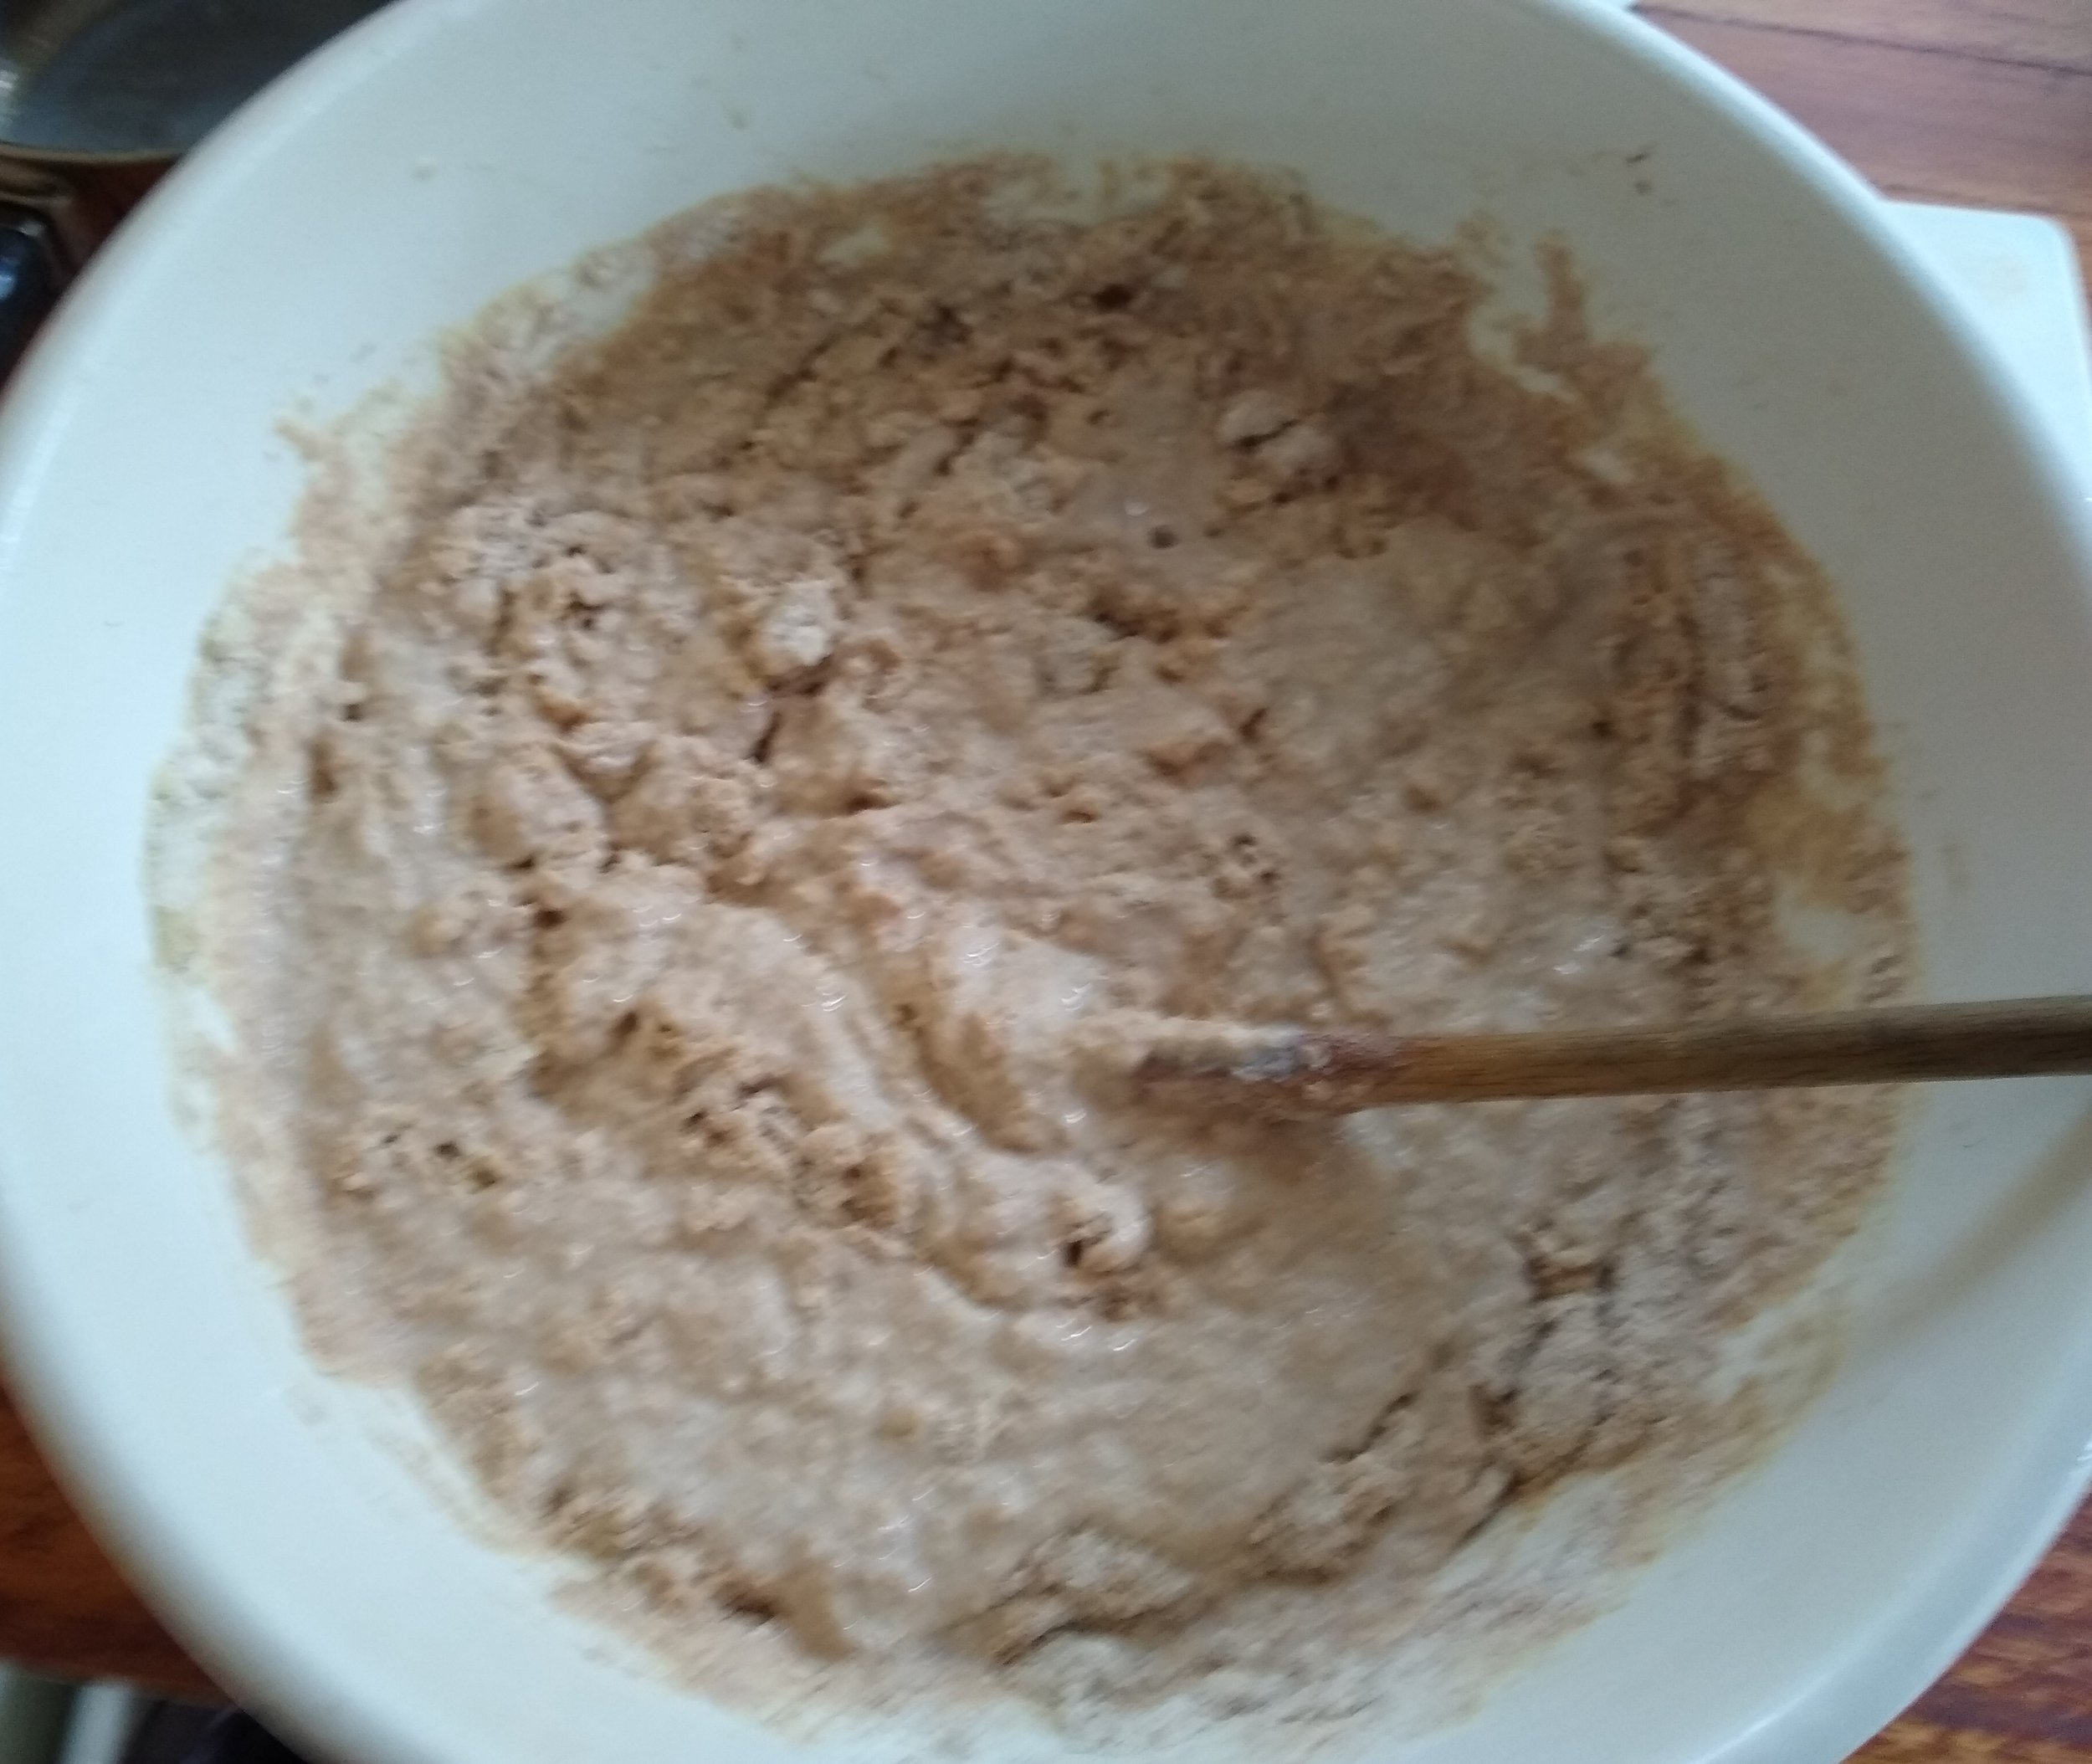
    • Mix in 4 1/2 cup flour, ½ cup gluten.

    • Once mixed, beat 100 strokes with spoon.

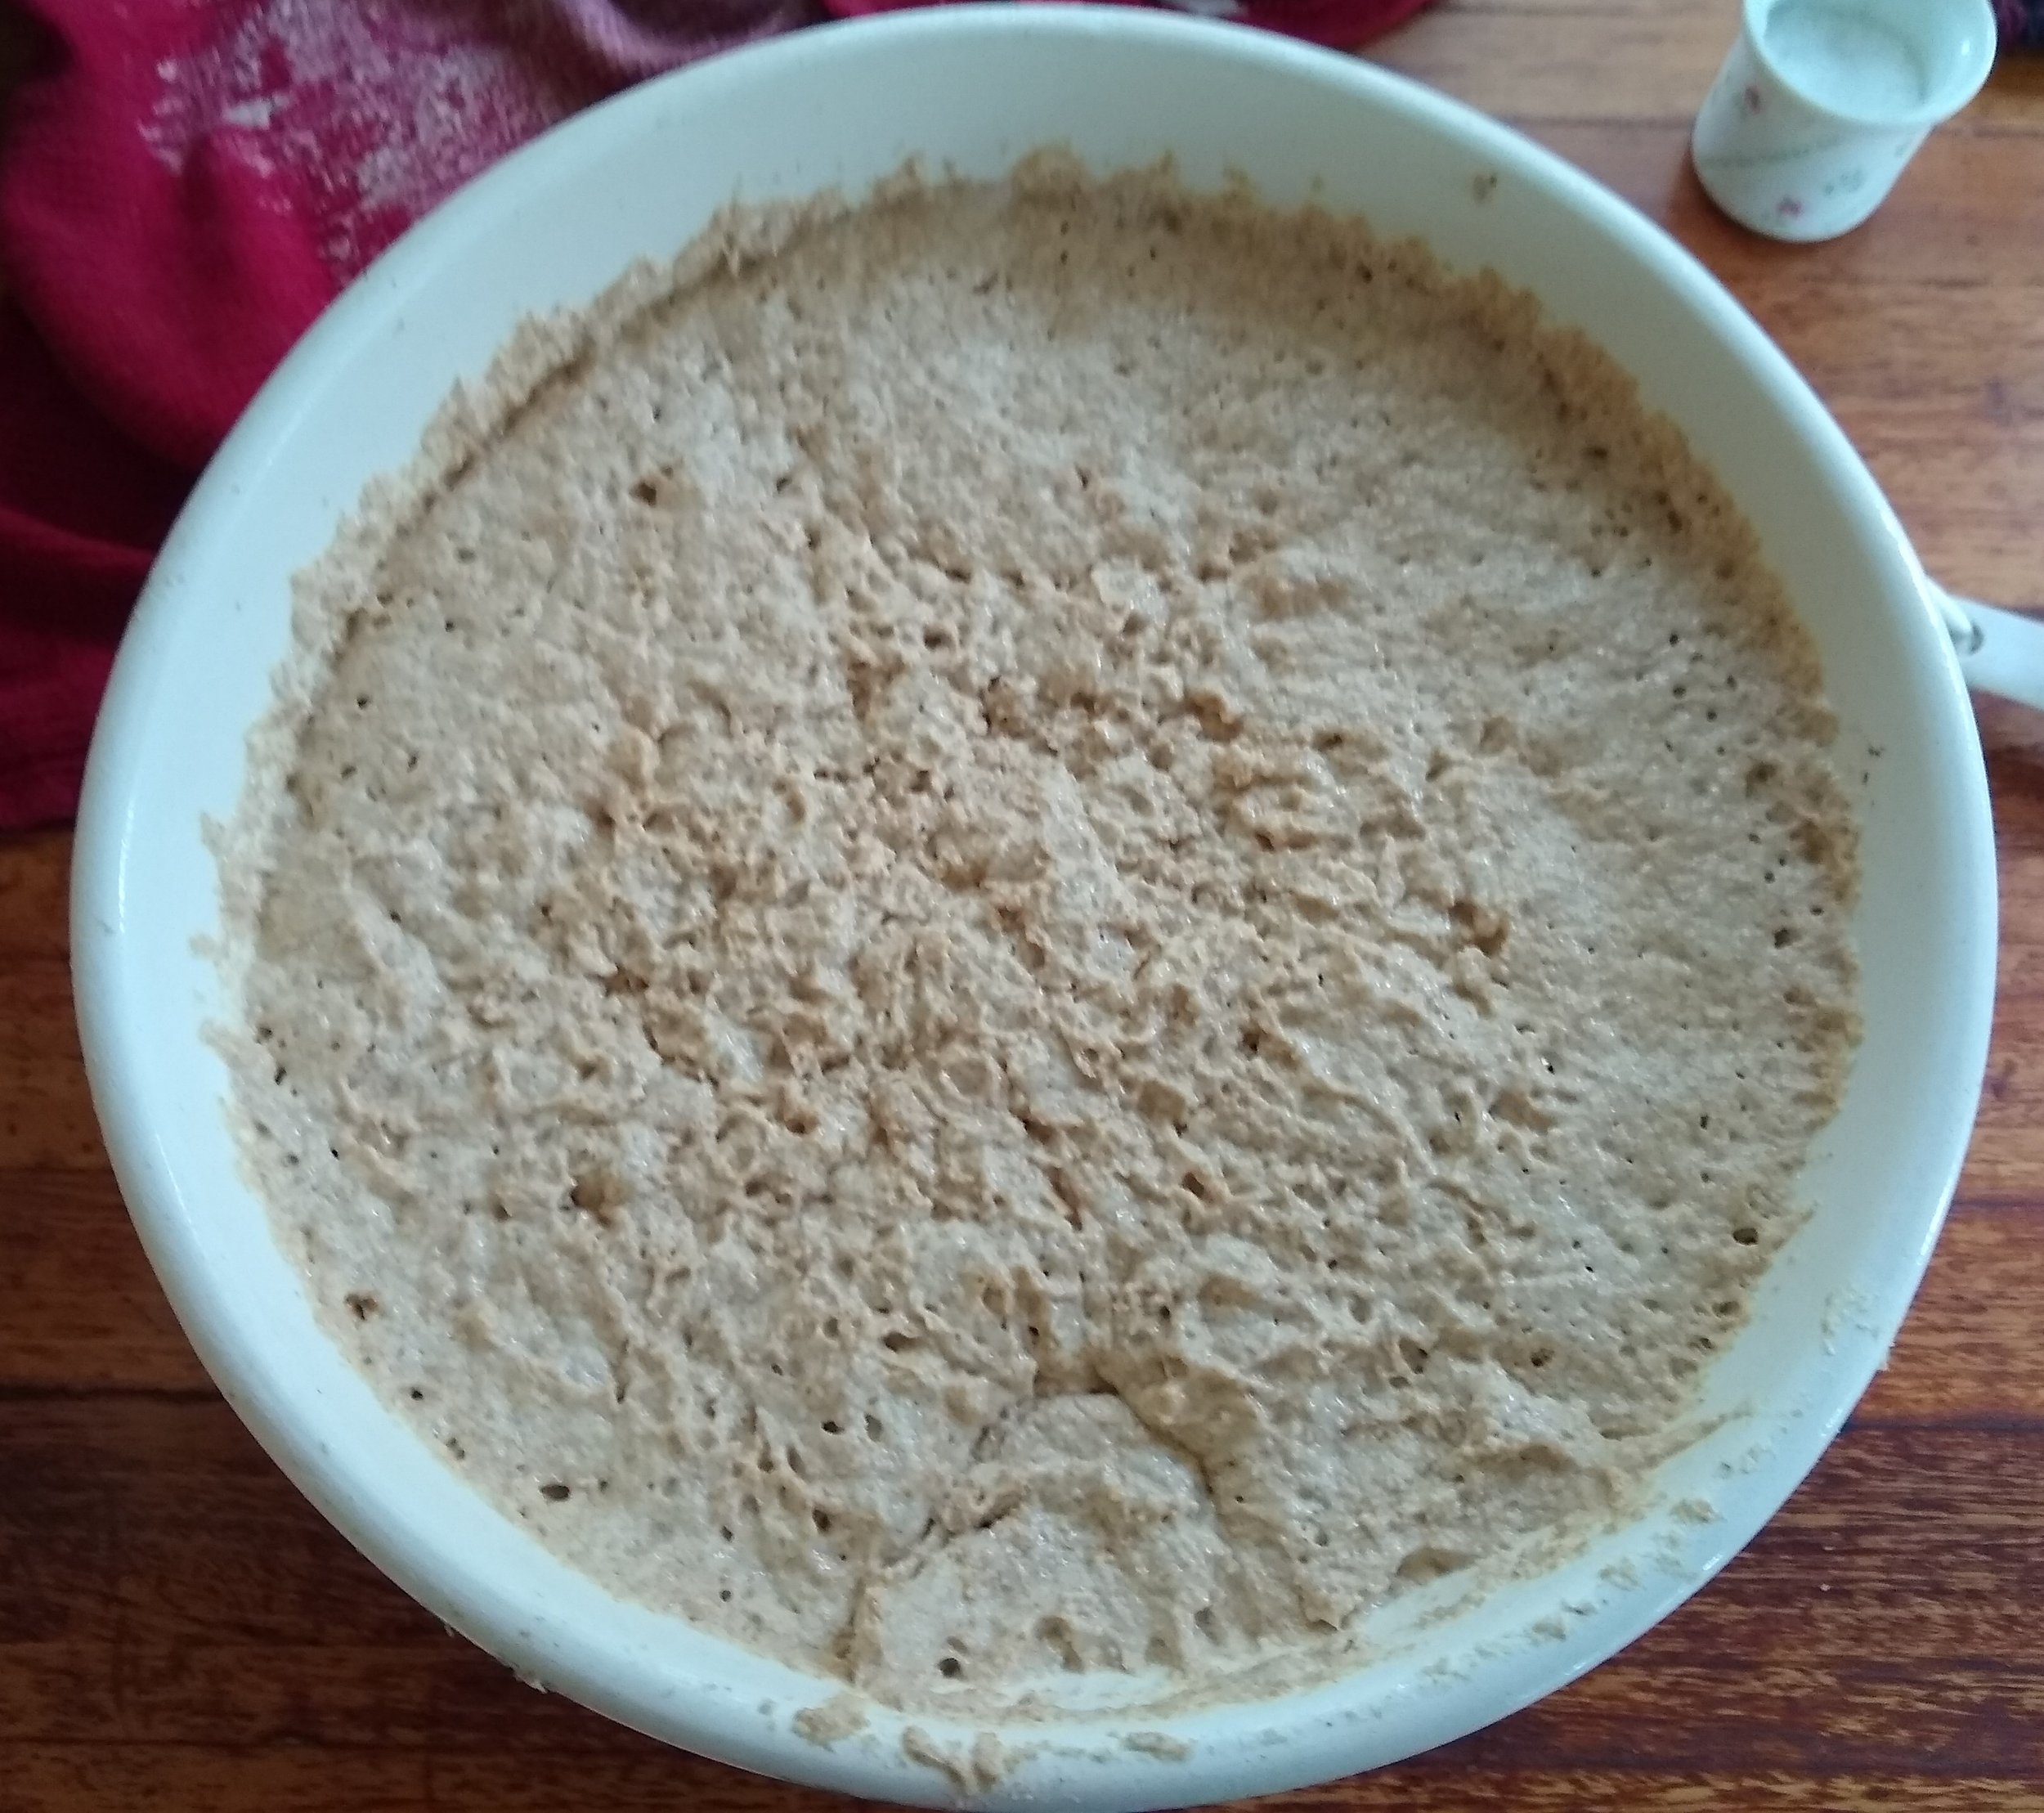
  4. Cover and set to rise for 30 minutes (I use oven on 'low proof' setting).

  5. Melt butter and let cool.

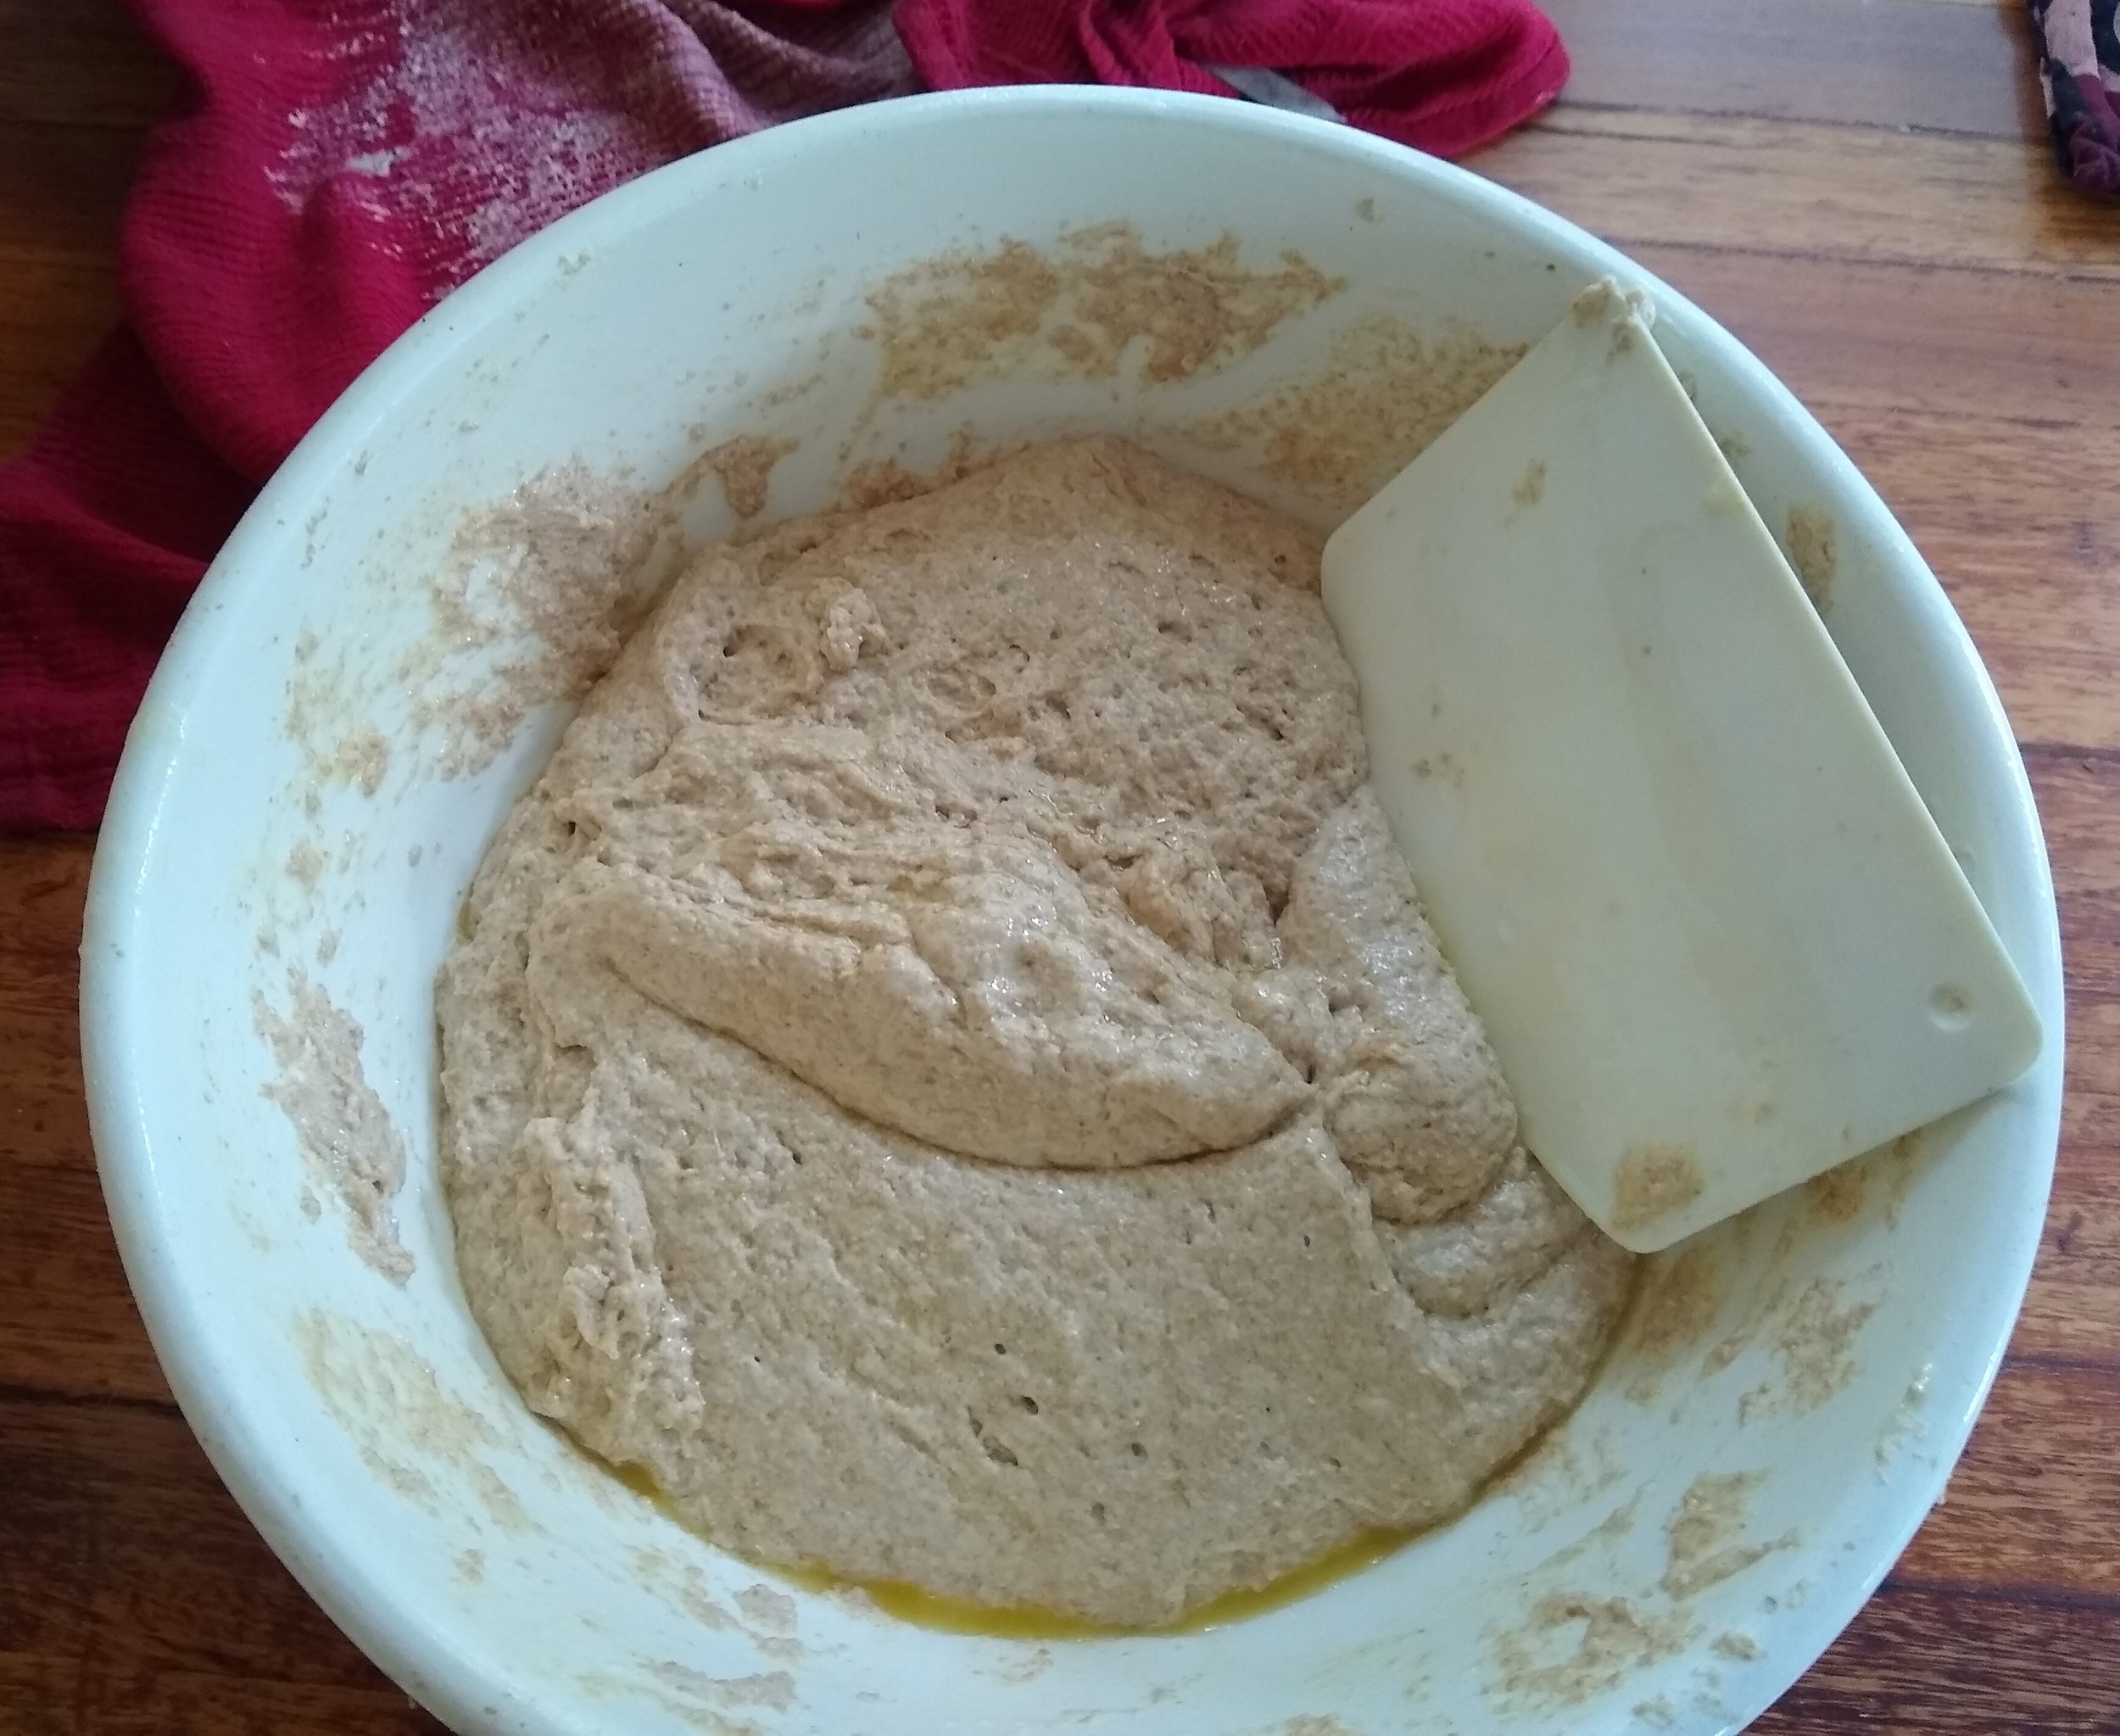
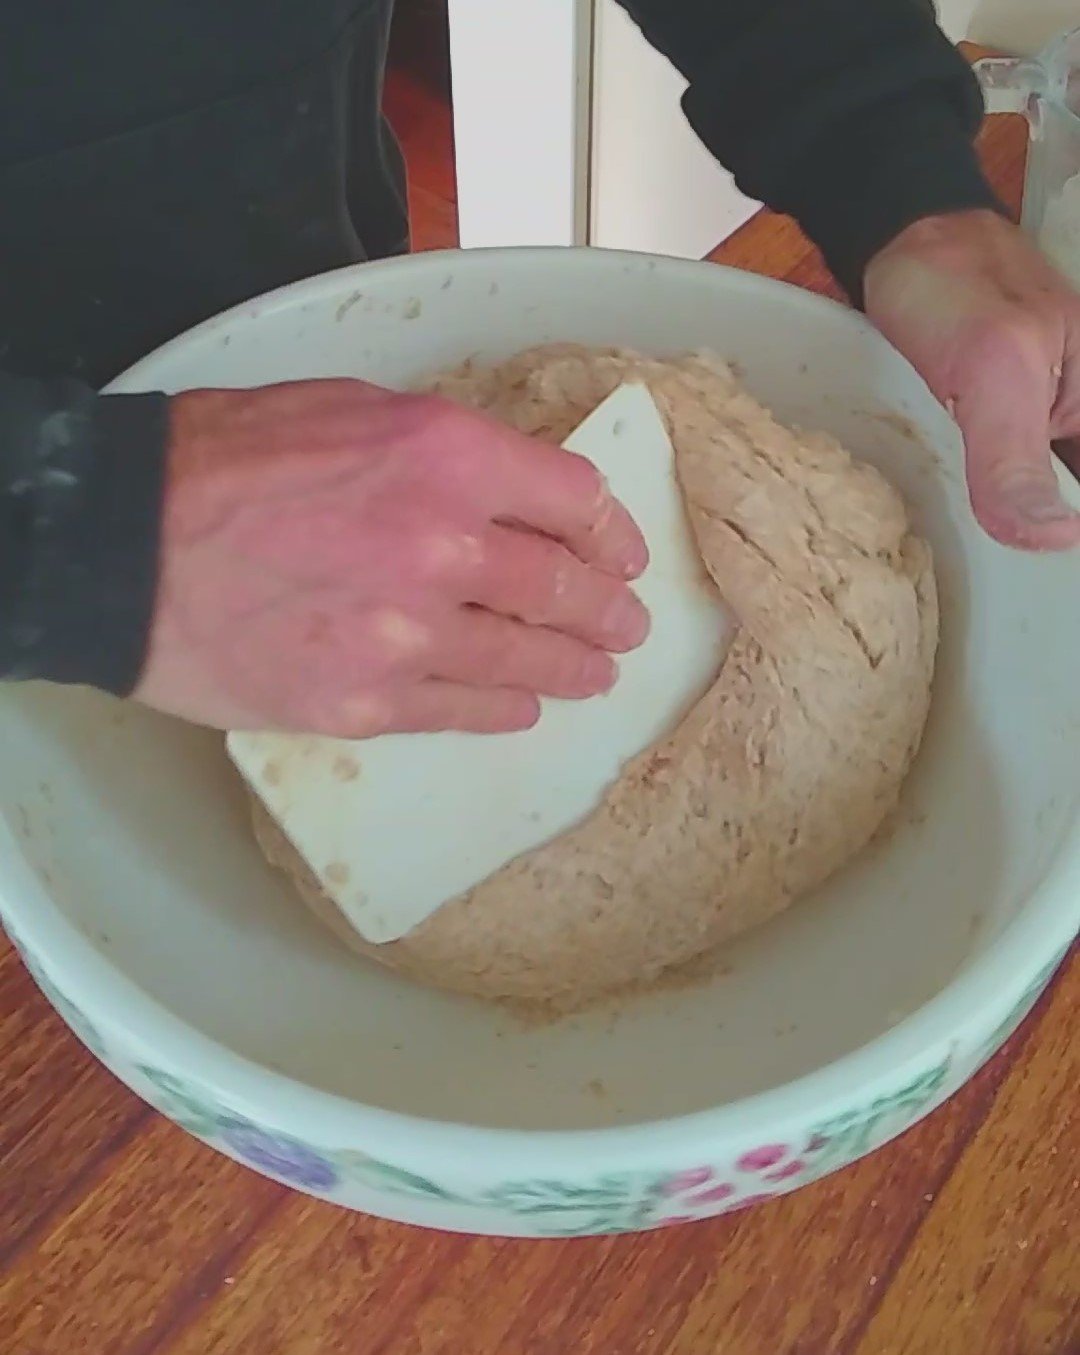
  6. Add butter and salt to risen sponge. Fold in with dough scraper. Slide scraper down bowl to get under sponge, then pull towards center of dough, turn bowl and repeat.

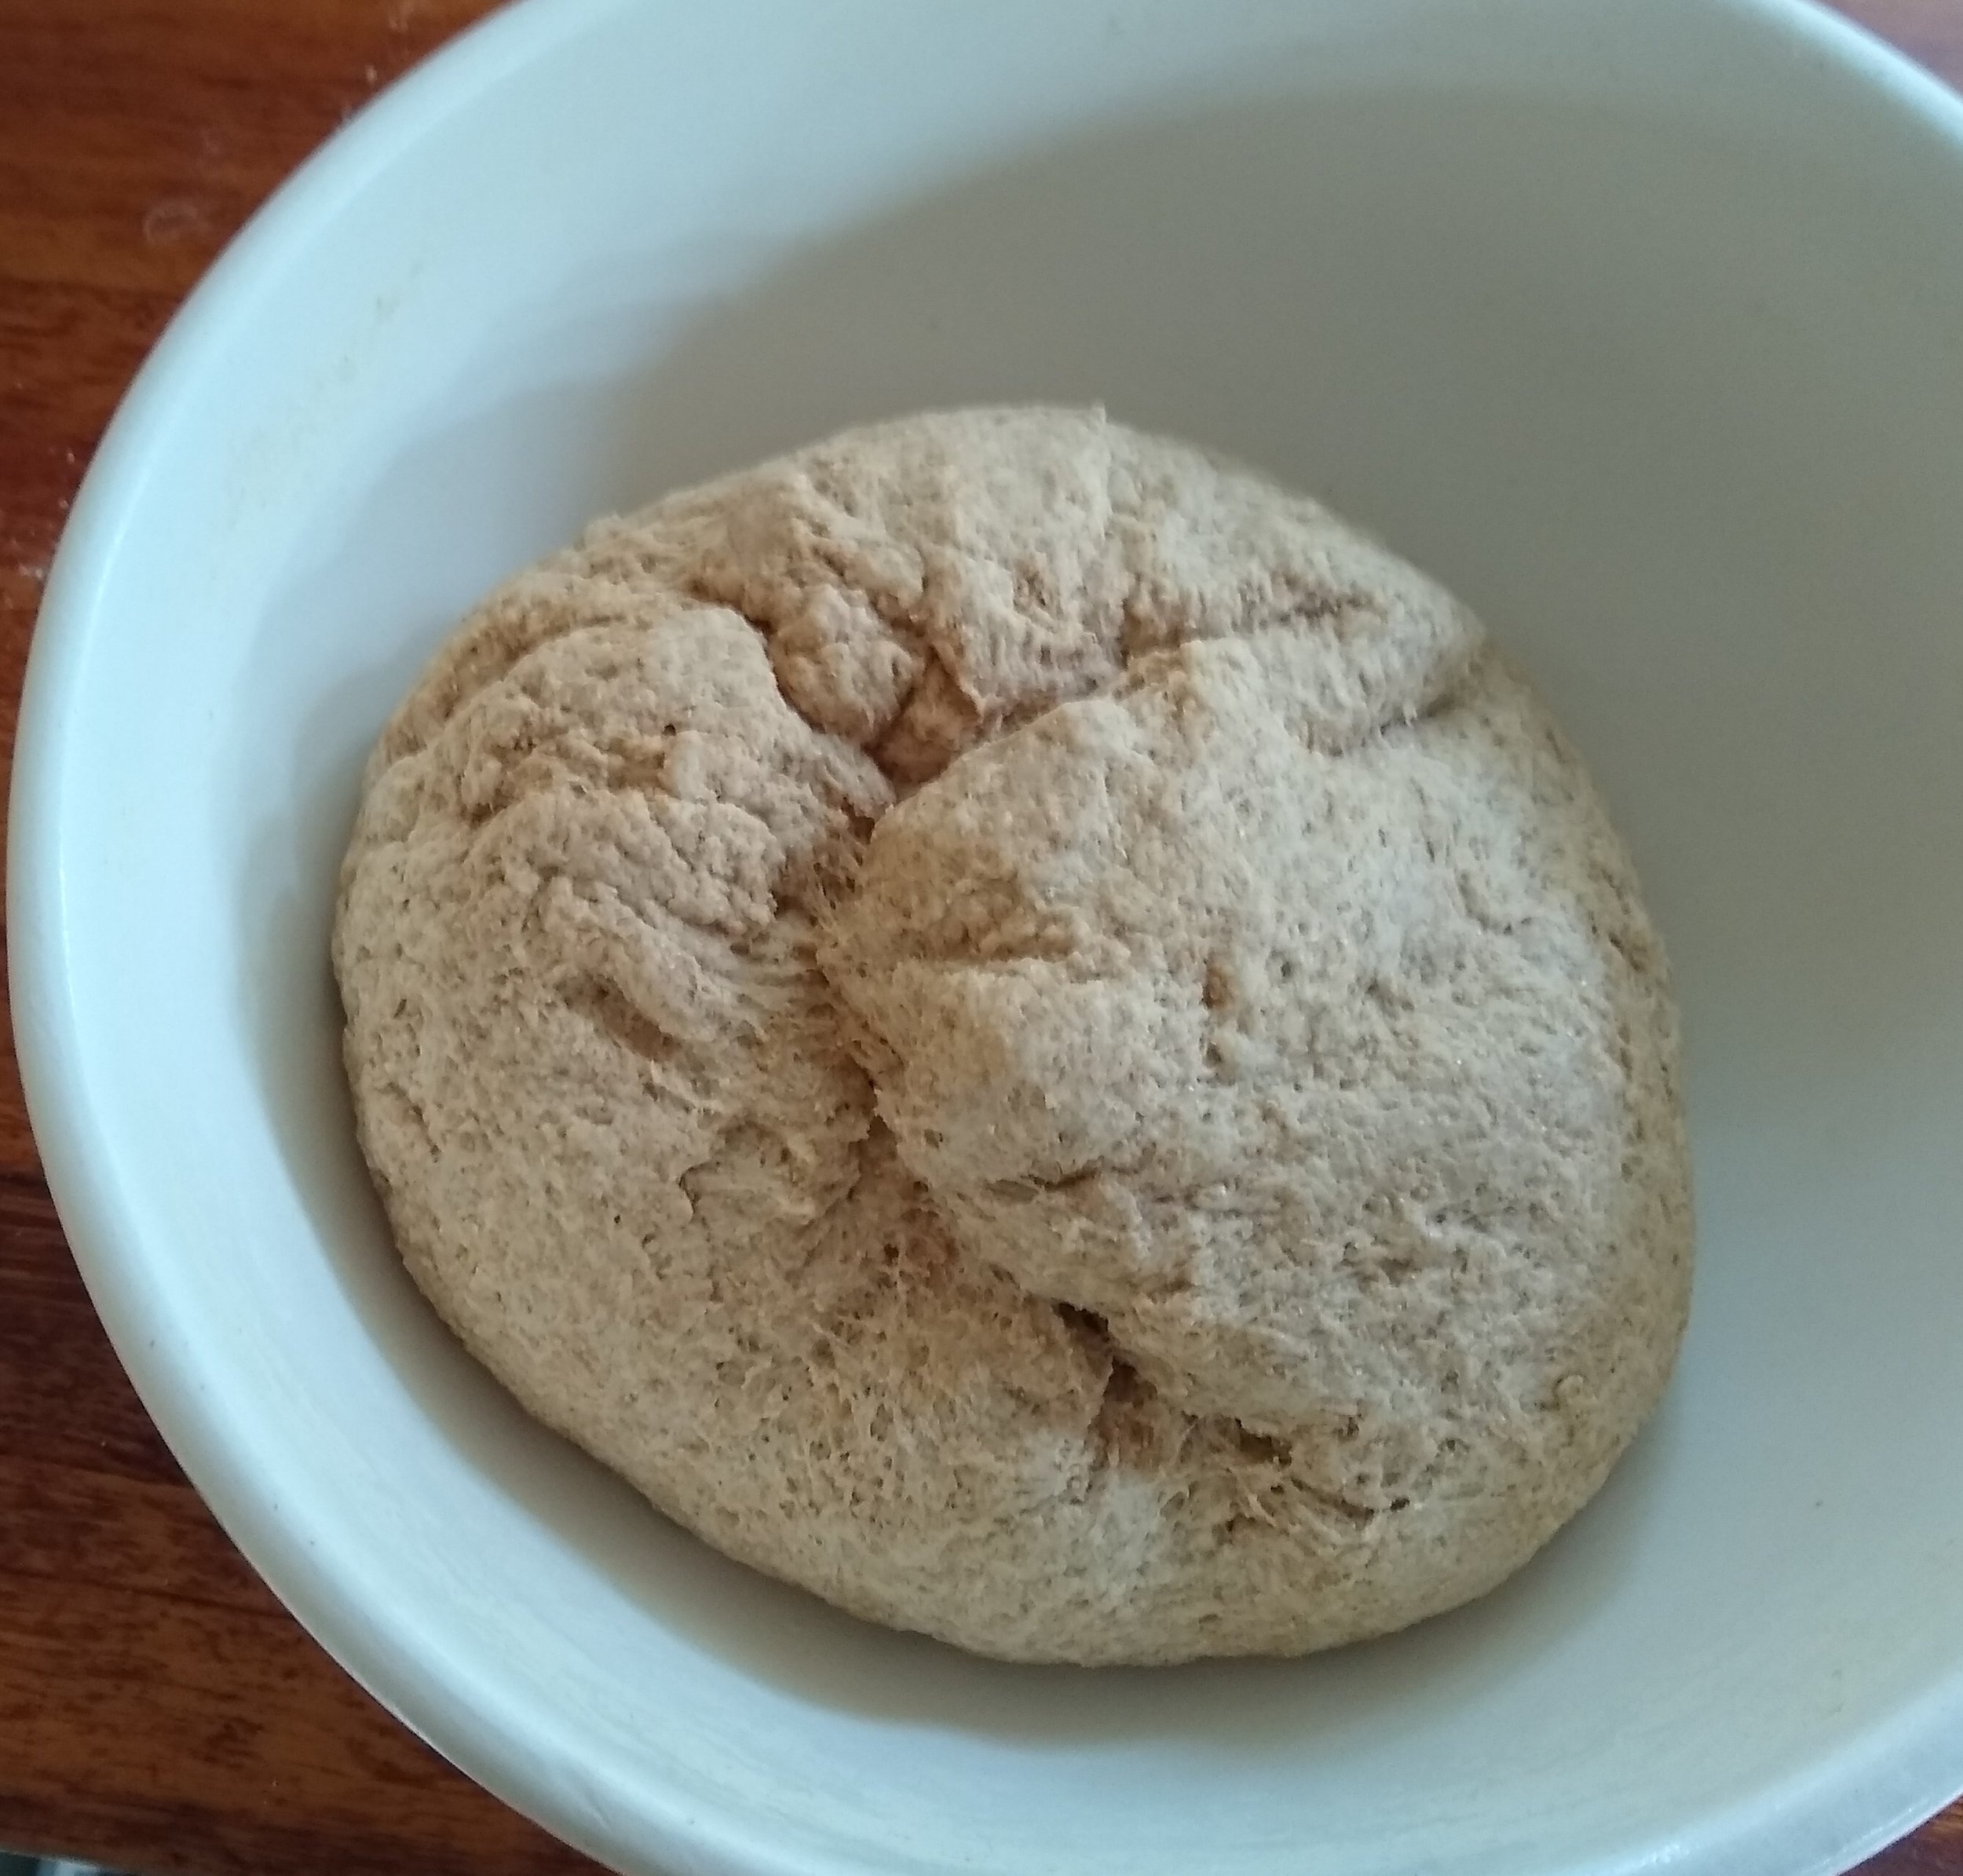
  7. Add approximately 4 cups flour to bowl, and fold and stretch until all is incorporated. Add more flour if needed. Dough will be tacky, but not stick to bowl, and have  a  pronounced bounce back when stuck with a finger. Expect this process to take 10 - 15 minutes.

  8. Cover and set to rise 40 minutes.

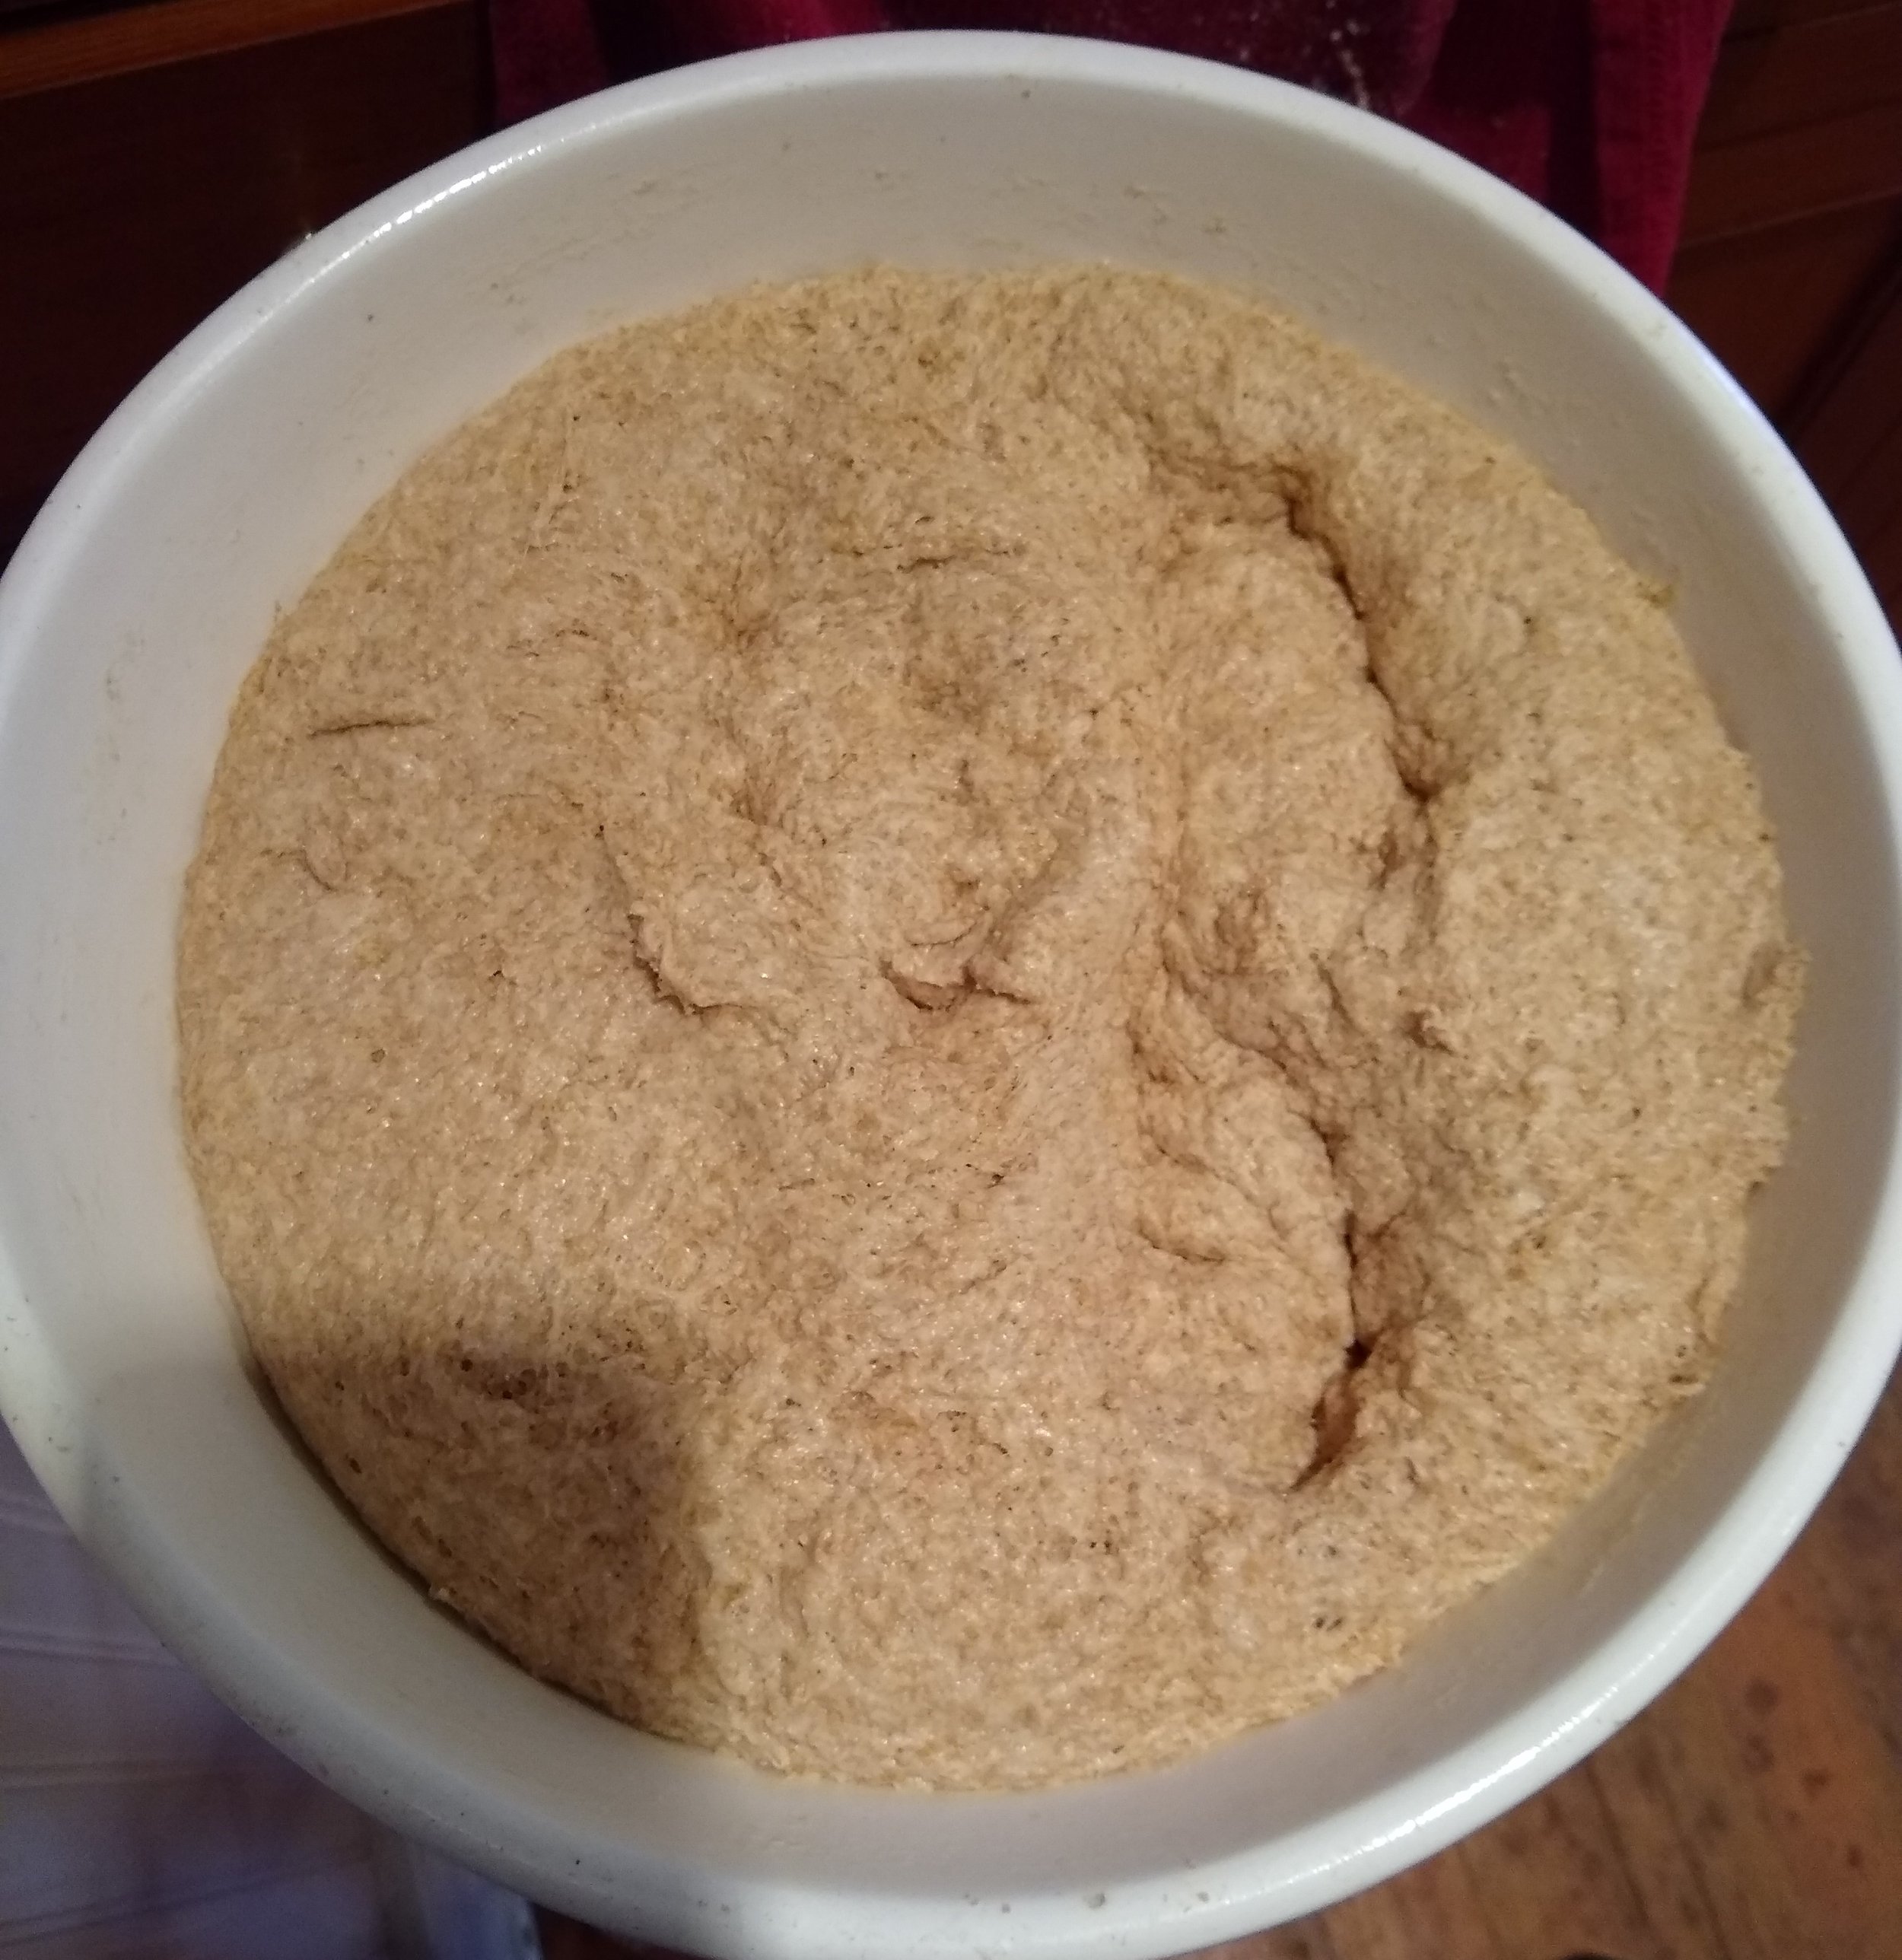
  9. Punch dough down and set to rise another 30 minutes.

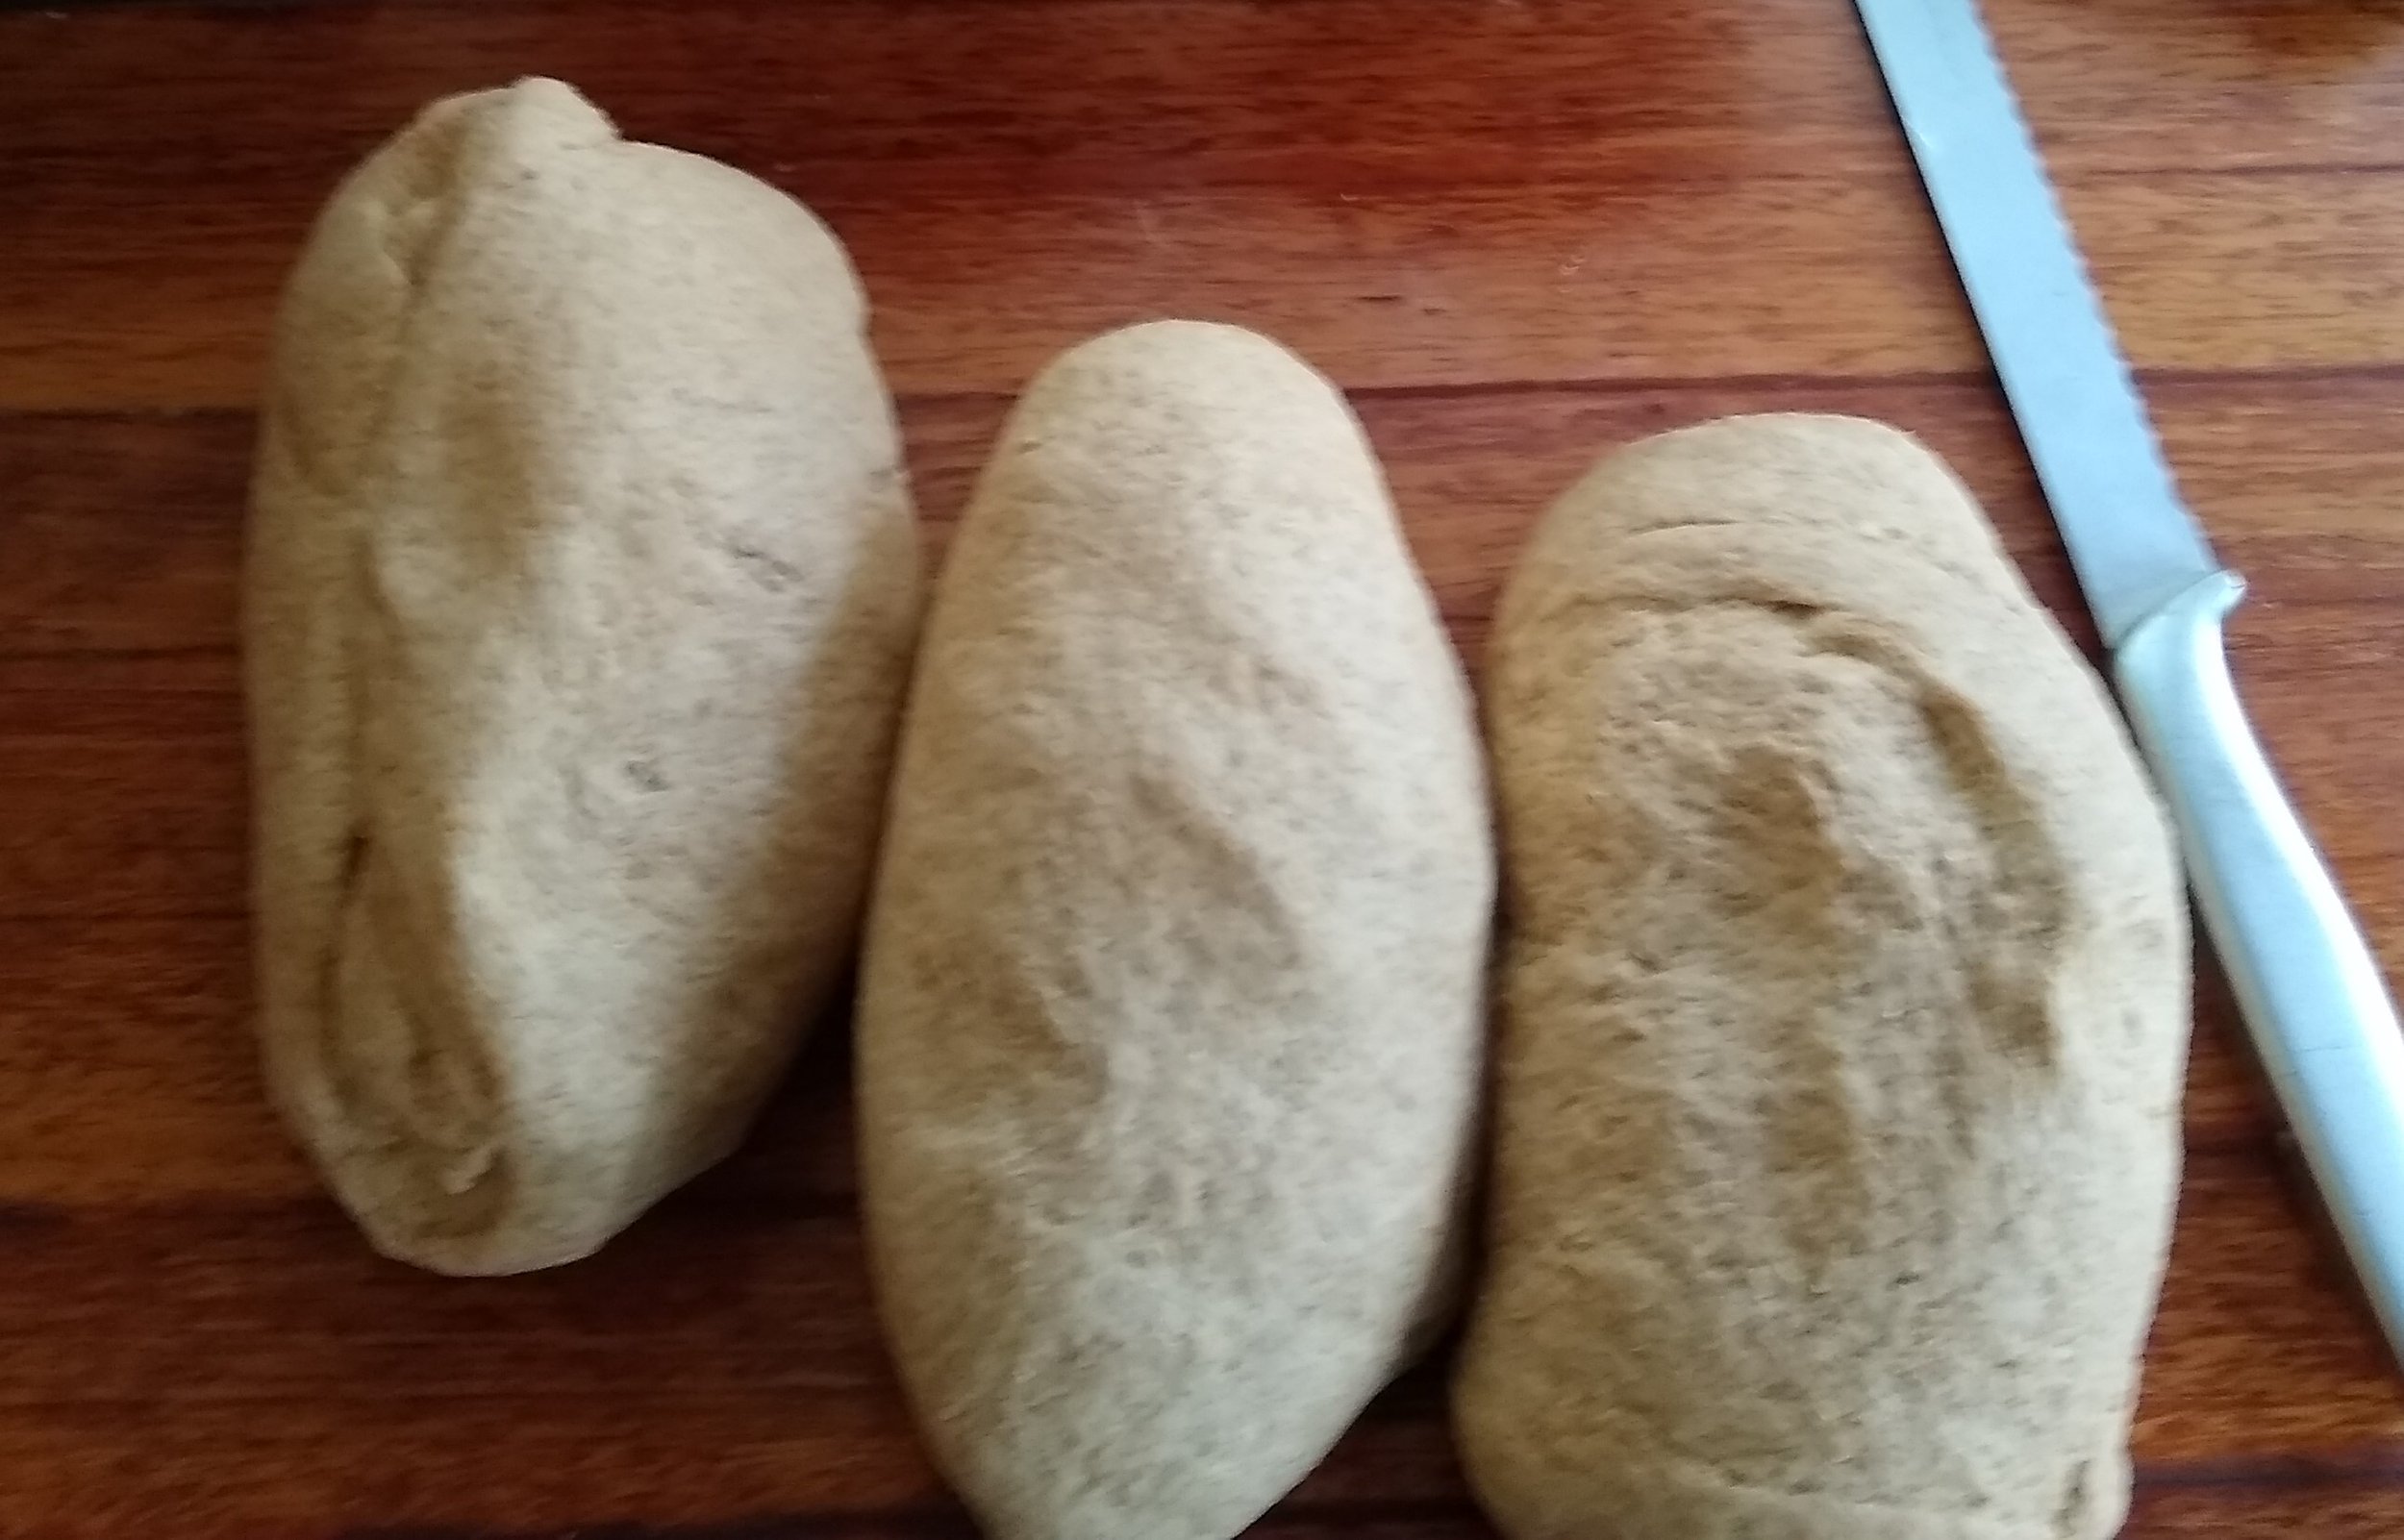
  10. Punch down and divide dough into 3 equal parts (a scale is helpful here).

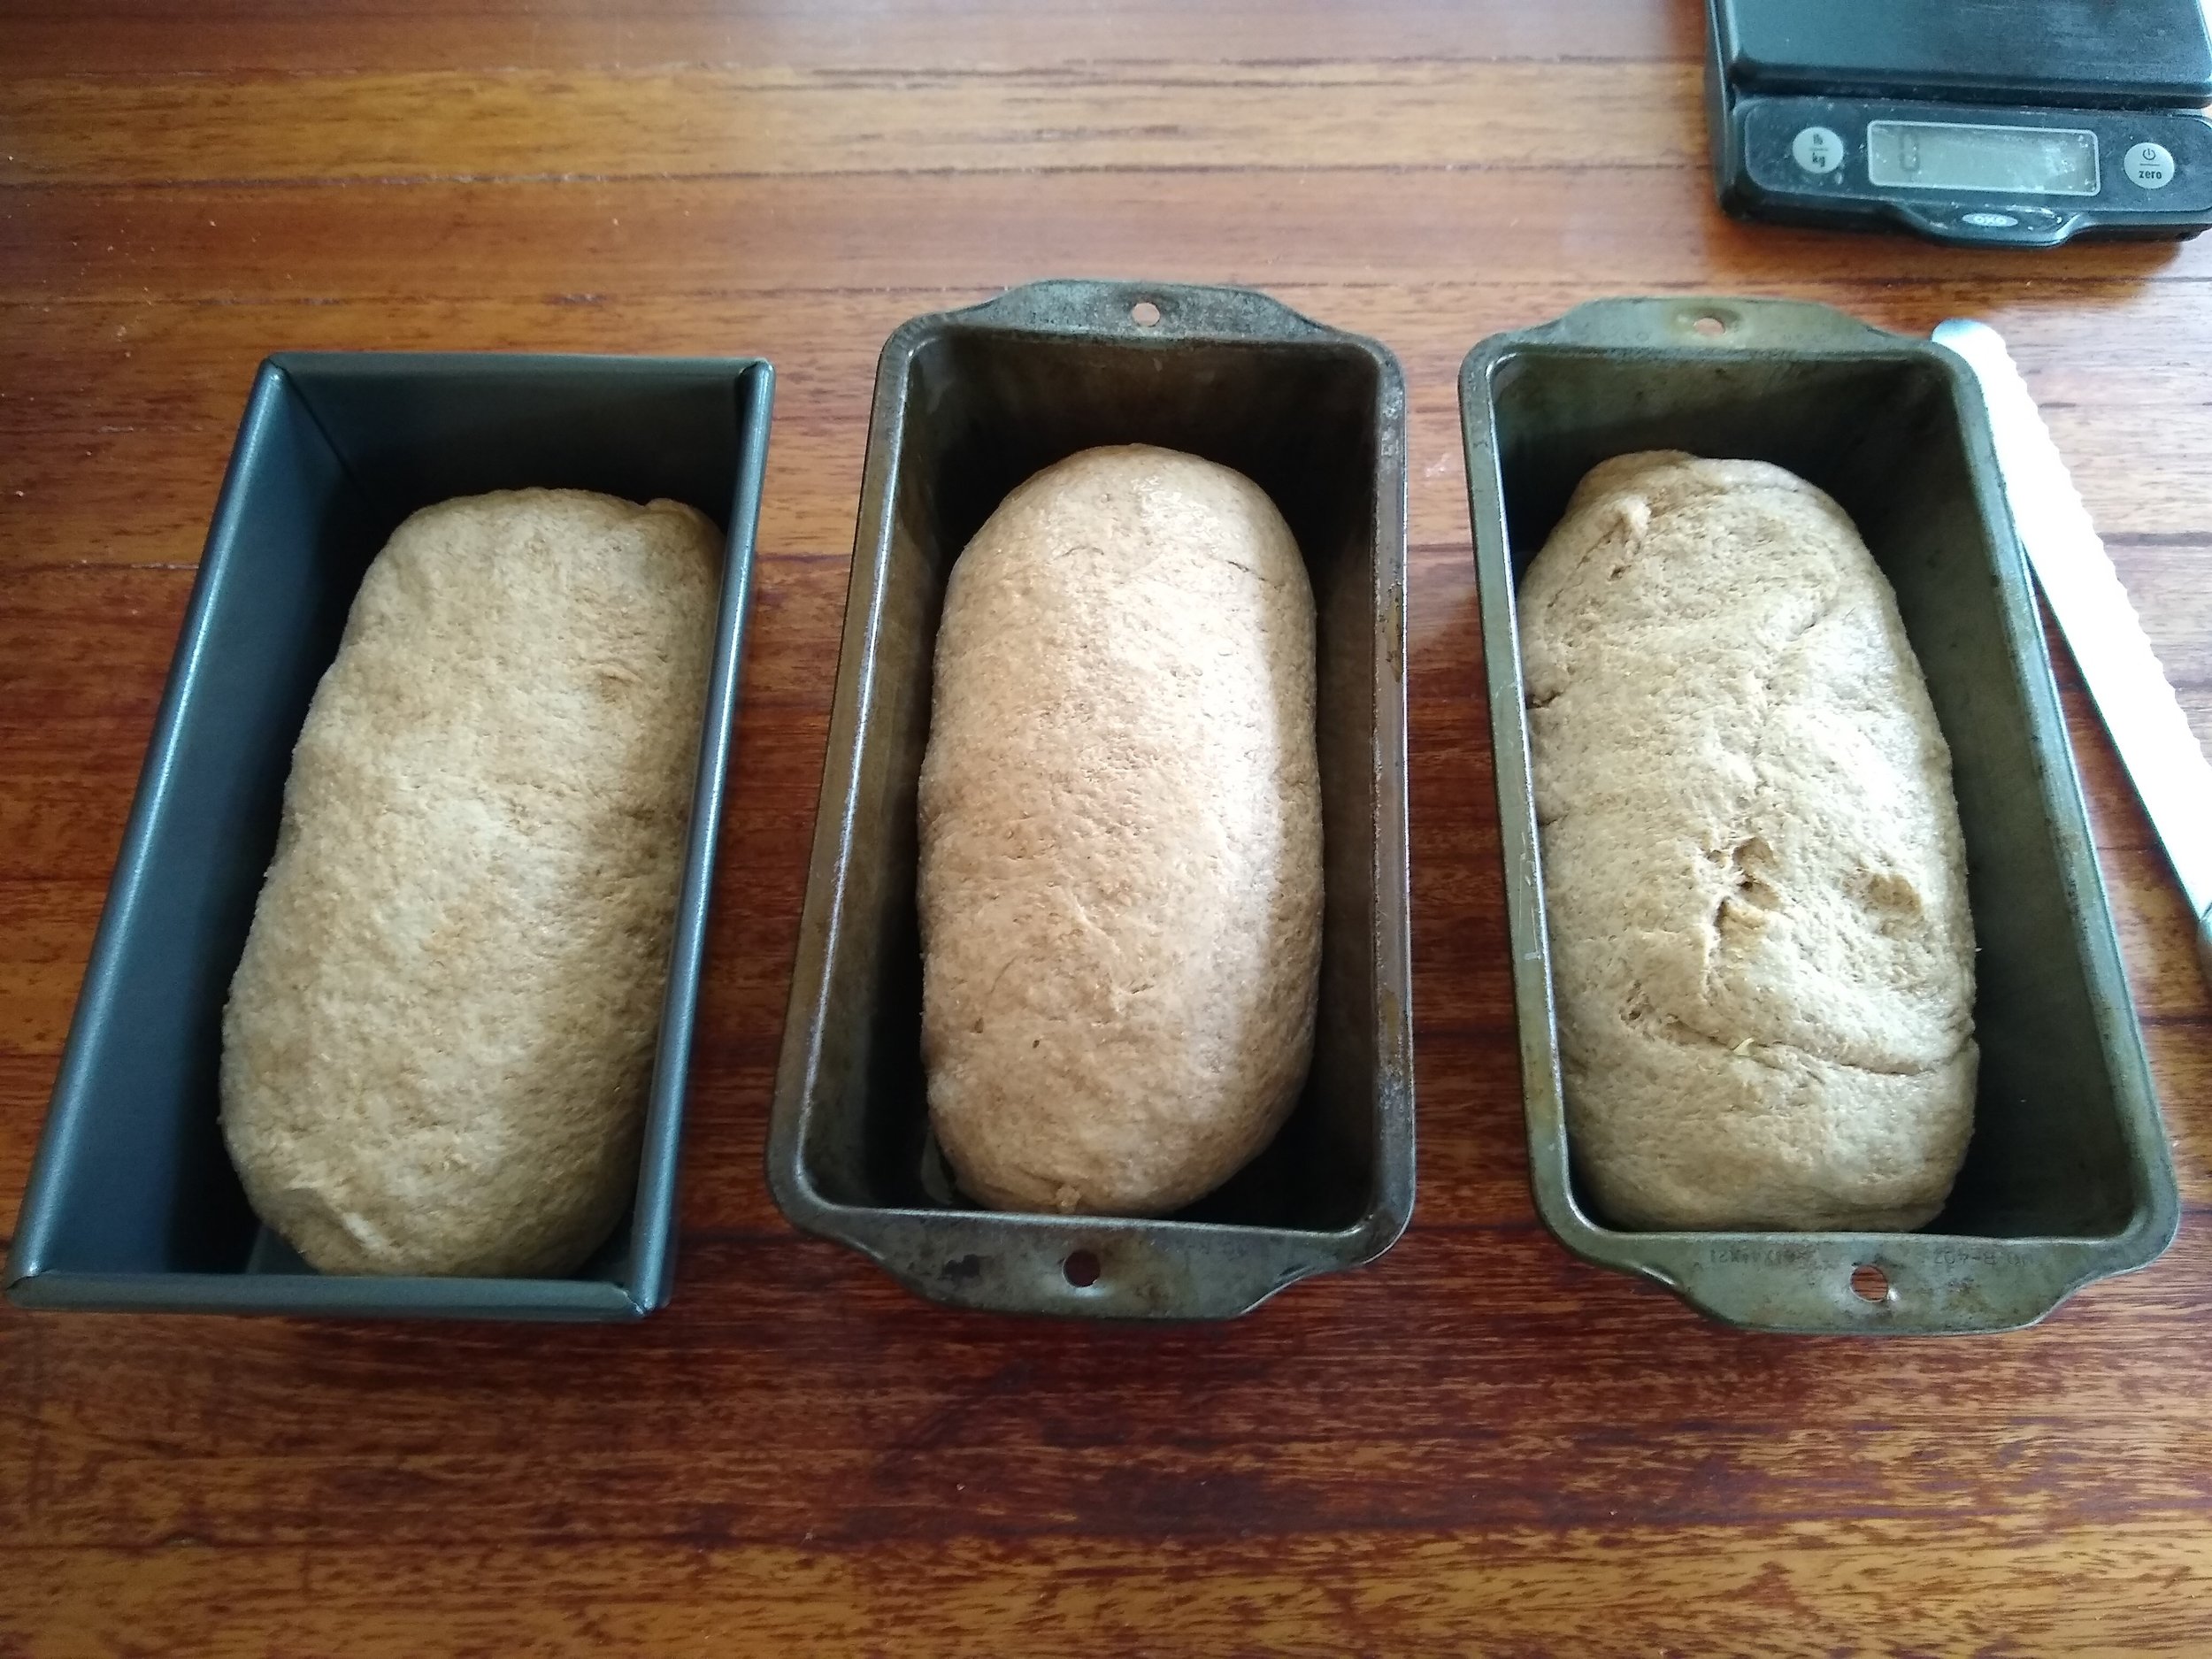
  11. Gently roll and stretch each loaf and fit in oiled bread pans.

  12. Cover and let rise 35-45 minutes until bread puffs up over top of pan.

  13. Preheat oven to 350 F. I add a baking pan on lowest rack to hold water for steam.

  14. Slash top of loaves with sharp knife and bake 50+/- minutes. Optionally, add 1-2 cups water to baking pan to create steam in oven. This creates a better crust. Bread will sound hollow when done.

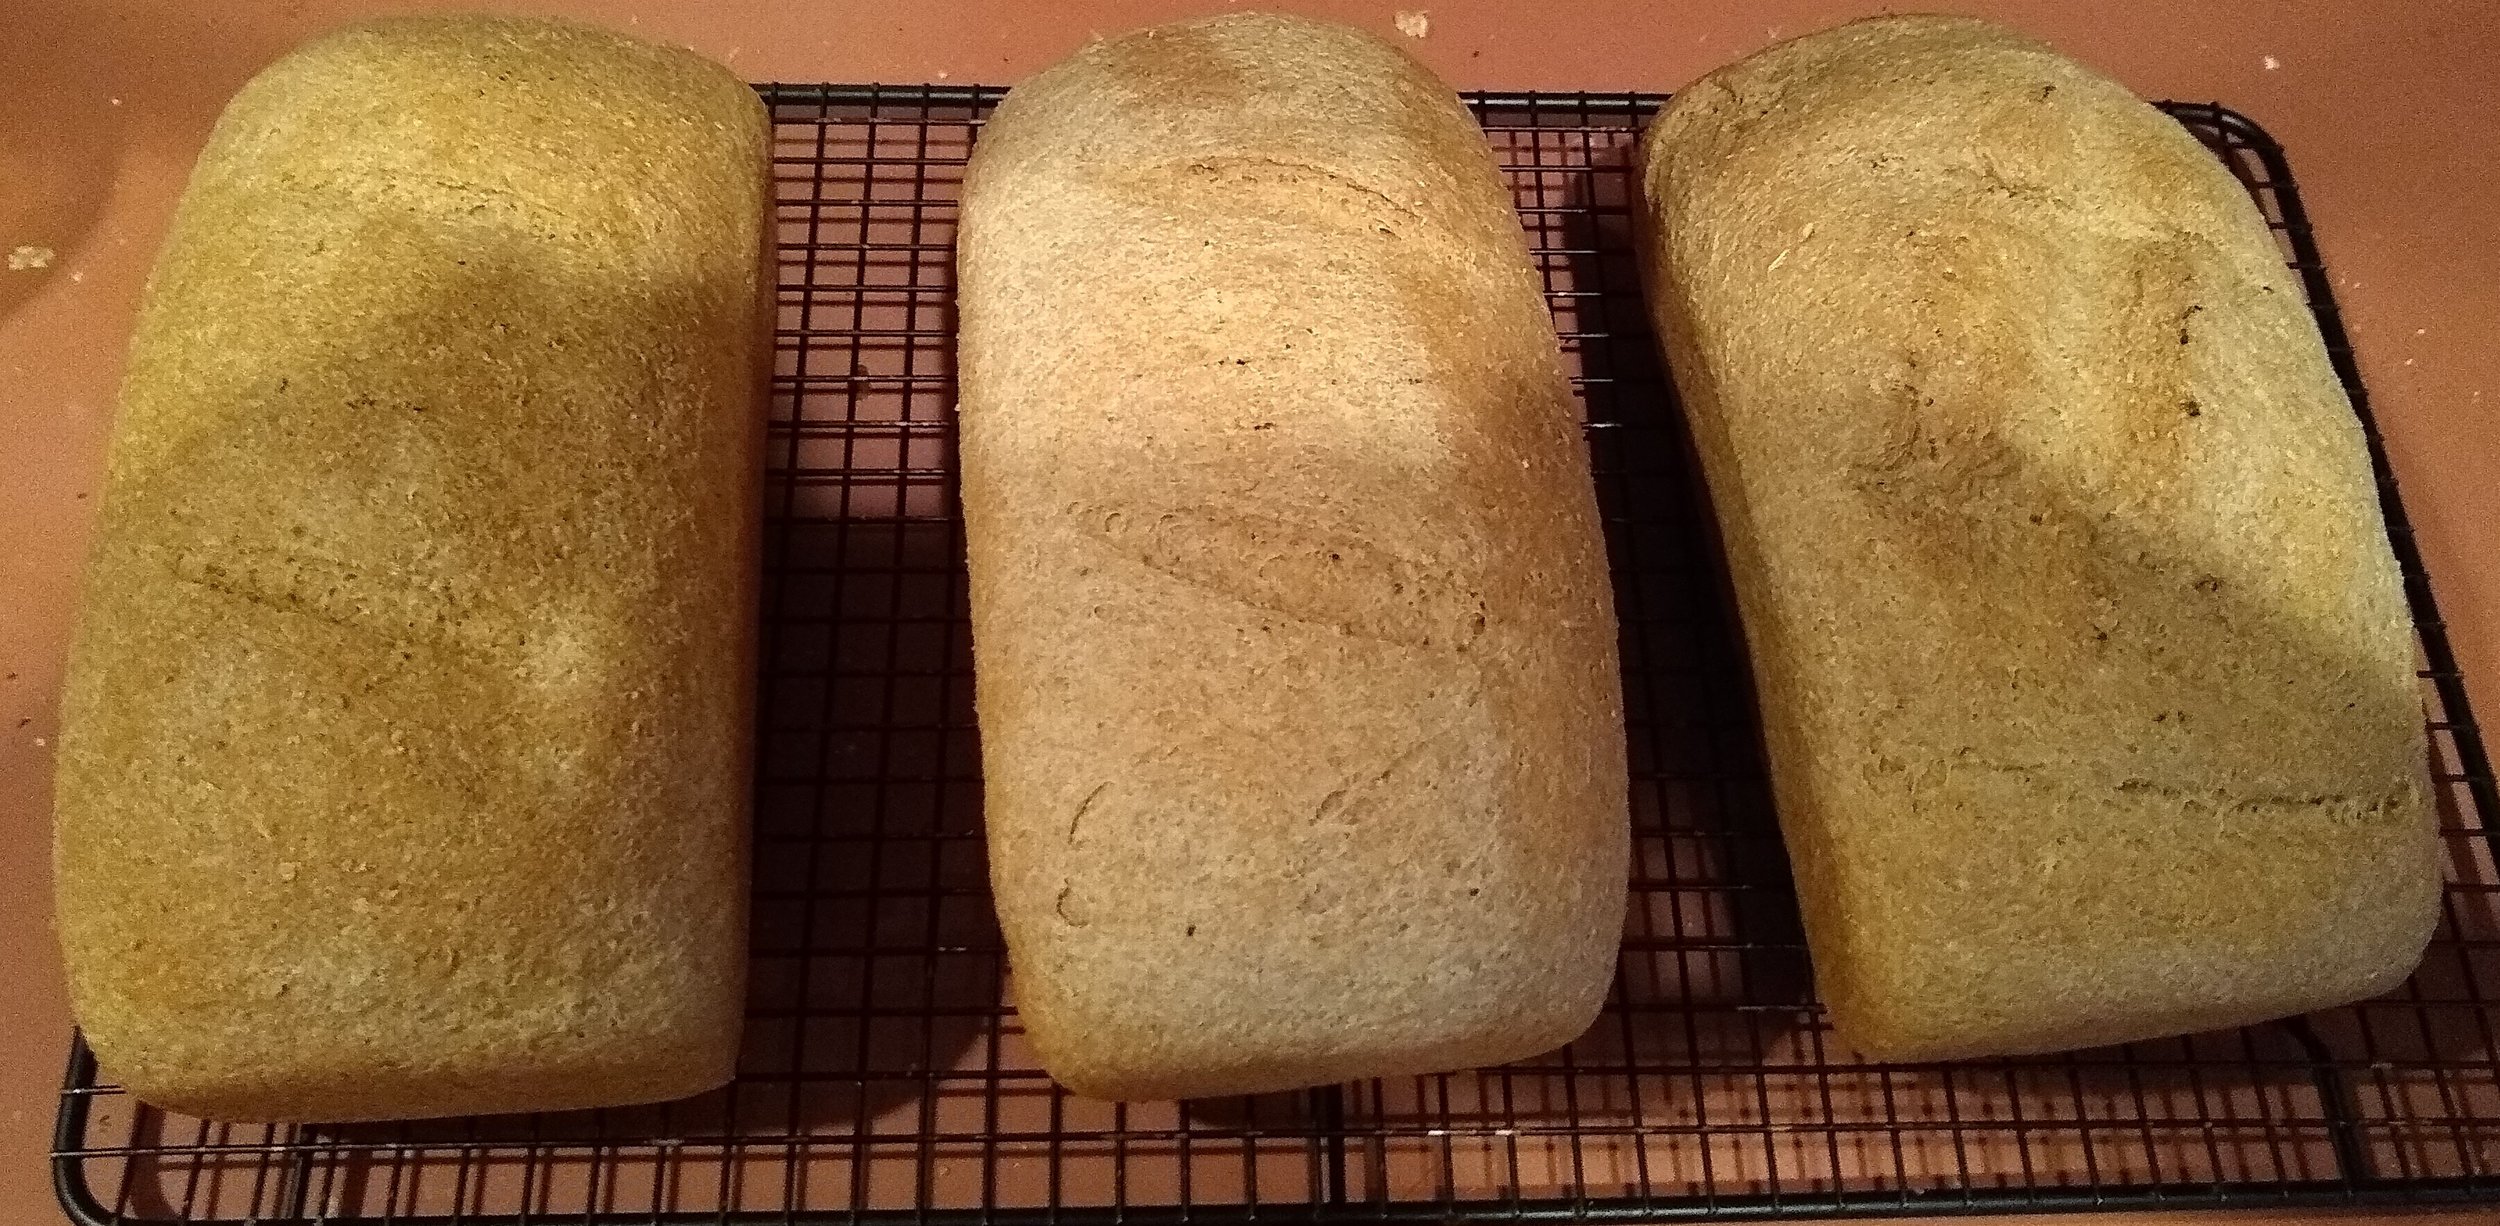
  15. Turn loaves out onto rack to cool.

  16. Cut a thick slice of bread while still warm, slather with butter and enjoy.

Thank you Linda and David for sharing this yummy recipe with us!

Be sure to give this recipe a try and share your photos via email or tag @doublefranchmeatcsa on social.

The very first chicken-cooking technique I teach new CSA members

Hey Friends,

Are you ready to level up your chicken cooking experience? Let's dive right in and get you the skills and techniques you need to cook a better chicken!

spatchcock chicken

The Science - How I Learned I've Been Cooking My Chicken Wrong All These Years

If you've ever cooked or eaten a chicken with bone-dry breast meat and stringy, "bloody-looking" thighs then you have experienced the challenge of cooking a whole chicken - the various muscle groups cook differently.

I knew that in theory but it never clicked in my head until recently. Cooking a whole chicken was a crapshoot - sometimes fantastic, sometimes not so good but never consistent results.

Here is where I went wrong for so many years. Let's take a look at a whole chicken first for reference:

The legs seem so small, spindly and oddly sized while the breast meat is a big, dense brick.

It would make sense that to "fix" this uneven cooking issue, you need to focus the direct heat on the breast meat since the meat is denser and will take longer to cook. And on the flip-side, because the legs are so small and will cook so much faster, they need to cook slowly over indirect heat so the whole happy chicken reaches 160 degrees at the same time.

Makes sense right?

And when I pulled my roasted chicken from the oven and the breast meat was juicy and perfectly cooked I felt like a rockstar. Bring on the 'grams!

But then we'd sit down to dinner and the thighs would be chewy, bloody and under-done.

What was I doing wrong?

My Lightbulb Moment

The light bulb went off when I read this on a Serious Eats recipe one day (emphasis mine):

"Leg meat, on the other hand, must be cooked to at least 170°F (77°C). OK, that's a bit of an overstatement. It'll still be perfectly edible at around 160°F (71°C) (any lower than that and the abundant connective tissue will remain tough), but the juices will still be pink or red, and it will not have yet reached optimal tenderness. Unlike breast meat, leg meat contains plenty of collagen. Given a high enough temperature (160°F and above), and a long enough time (the 10 minutes it takes the legs to get from 160°F to 170°F), this collagen will begin to convert into rich gelatin, keeping the meat moist and juicy, even after the muscle fibers have shed most of their liquid."

Say what? I'm not trying to make the whole chicken reach the same 160 degree temperature throughout?

serious eats spatchcock chicken with temps.png

A finished chicken actually is best when the breast and thigh meat finish at different temperatures! (And keep in mind that when you remove the meat from the grill, carryover heat will continue to cook the chicken).

Only 150 for breast meat? I know the food police are squirming in their chairs but Kenji says it's OK.

The main point is to implement techniques that tilt the scale in your favor to reach both temperatures simultaneously.


The Technique - Start with the Spatchcock

So we already know that a whole chicken is an awkward size and shape. To ensure even, consistent cooking we need an even, consistent shape.

Cue the spatchcock.

Spatchcocking a chicken simply refers to removing the backbone and pressing it flat. It's easy to do and is essentially the Marie Kondo folding technique of the chicken world :)

If as a CSA member, you only ever implement one chicken-cooking technique, please let it be the spatchcock!

It's easy to do. You will need:

  • a whole chicken, patted dry

  • a cutting board

  • kitchen scissors or poultry shears

How to spatchcock

  • Turn chicken breast-side down on the cutting board with the tail facing toward you

  • Grasp the tail with your non-dominant hand then with the shears in your dominant hand, start your cut where the base of the tail meets the back.

  • Cut from tail all the way up to the top of the neck. Cut along the other side of the tail up to the top of the neck leaving a ~1" strip of backbone.

  • Remove backbone (place in a freezer bag to make stock another day). Spread open chicken like a book.

  • Flip chicken over so the breast is facing up. Use the palm of your hand to press down in the center of the breast to flatten


You did it! It feels like a little extra work, I know but since it evens out the shape of the bird for more even cooking, you actually end up shaving off some cooking time.

I know that when written out, even the simplest things can seem complicated. If you're still not quite sure how to proceed, Rachel recommends this YouTube video:


The Recipe - Peruvian-Style Chicken

Spatchcock Peruvian-Style Grilled Chicken

Spatchcock Peruvian-Style Grilled Chicken

Why it's great:

  • Spatchcock chicken cooks evenly

  • Mild spice rub packs a huge flavor punch without being spicy (great for kids!)

  • Grilled for that smokey flavor and to make the neighbors jealous

  • Crispy skin and flavorful, perfectly cooked meat throughout

What's in the spice rub?

  • 3 teaspoons kosher salt (recipe calls for 4 but that felt way too salty)

  • 2 tablespoons ground cumin

  • 2 tablespoons paprika

  • 1 teaspoon freshly ground black pepper

  • 3 medium cloves garlic, minced (about 1 tablespoon)

  • 2 tablespoons white vinegar

  • 2 tablespoons vegetable or canola oil

Cooking notes

Recipe calls for charcoal grill but we use a gas grill with great success and a hot (450-475 degree) oven works too.

On the grill, cook the chicken breast-side up over indirect heat. Orient the legs to point towards the hotter side of the grill.

Once the breast meat reaches 110 degrees, carefully flip chicken and place, skin side down, on hotter side of grill, with breasts pointed toward cooler side. Cover and cook until skin is crisp and an instant-read thermometer inserted into thickest part of breast registers 145 to 150°F. let rest 10 minutes before serving.

The recipe also includes notes for how to make a spicy, tangy, creamy green sauce but it is totally optional. The grilled chicken is divine in its own right.

GET THE RECIPE


The Gear

An instant read digital thermometer ($20-$30) and a sturdy pair of poultry shears (~$25) are indispensable tools for crafting this recipe.

I know the poultry shears may feel like a uni-tasker in a minimalist world but sometimes the best recipes rely on a fusion between cooking technique and cooking technology.


That's it friend. This concludes Day 2 of our 5 days to cooking *a-freakin-mazing* chicken challenge.

We learned:

  • the science behind why cooking a whole chicken is challenging

  • why spatchcocking a chicken is worth your time

  • the tools of the trade


I also shared my favorite recipe for grilled chicken - Peruvian-style grilled chicken.

I'll be back tomorrow with more science, techniques and recipes to make sure you never suffer from "blah chicken" again. See you then.

Cheers!
Katia


No more blah chicken - uplevel your cooking skills

How to cook a whole chicken - day one

Just a quick post today to let you know we’re dedicating the week to learning more about the art and science of how to cook a better whole chicken in the summer months.

Here’s why...

Does this sound familiar to you?

I have these great aspirations for the whole chicken when I pull it from the freezer. But three days later, the chicken is thawed but, that passion and enthusiasm has waned.

Now I’m down to the wire and I’ve got to cook this stupid chicken before it goes bad (and it’s already making a mess in the meat drawer in the fridge).

I don’t have time for something complicated.

So I plop the bird in a skillet, half-heartedly sprinkle salt and pepper over the top. Maybe I rat around in the produce drawer for some herbs on the cusp of compost and half a forgotten lemon and tuck them in the cavity.

It goes in the oven at whatever temperature (350? 425?) and cooks until it “looks done”. I check the temperature and it says 160 (then I google to see if that is the right temp, because I can never remember these things) and the juices run clear. Seems good.

I pull it out of the oven and let it rest for ten minutes.

But then I go to plate the bird.

The breast meat is so dry it makes a literal pile of sawdust as I carve. And yet the thighs are somehow still pink and bloody-looking?!? And the meat is chewy like rubber bands.

How dare you betray me chicken!

I mean technically, I got it cooked before it went bad but it didn’t make for a very enjoyable cooking or eating experience.

No more blah chicken - Take your bird from “meh” to “a-freakin-mazing”!

It’s time to flip the switch on this story. Let’s learn some easy techniques and new recipes to totally uplevel your chicken cooking experience. Sometimes even the simplest tweaks will take your chicken from “meh” to “a-freakin-mazing”.

Seriously, when you open your share bag each month, I want you to be absolutely stoked when you see a whole chicken in there because you can’t wait to make something fantastic (and then you are still excited when the bird is actually thawed and it’s time to cook).

So, if you’re not feeling that kind of excitement, be sure to stay tuned for the recipes, tips and tricks coming at you this week. And you chicken-cooking pros can uplevel your skills too.

Get ready. The first recipes will be posted tomorrow. It’s going to be finger-lickin’ good.


Cheers!
Farmer Katia